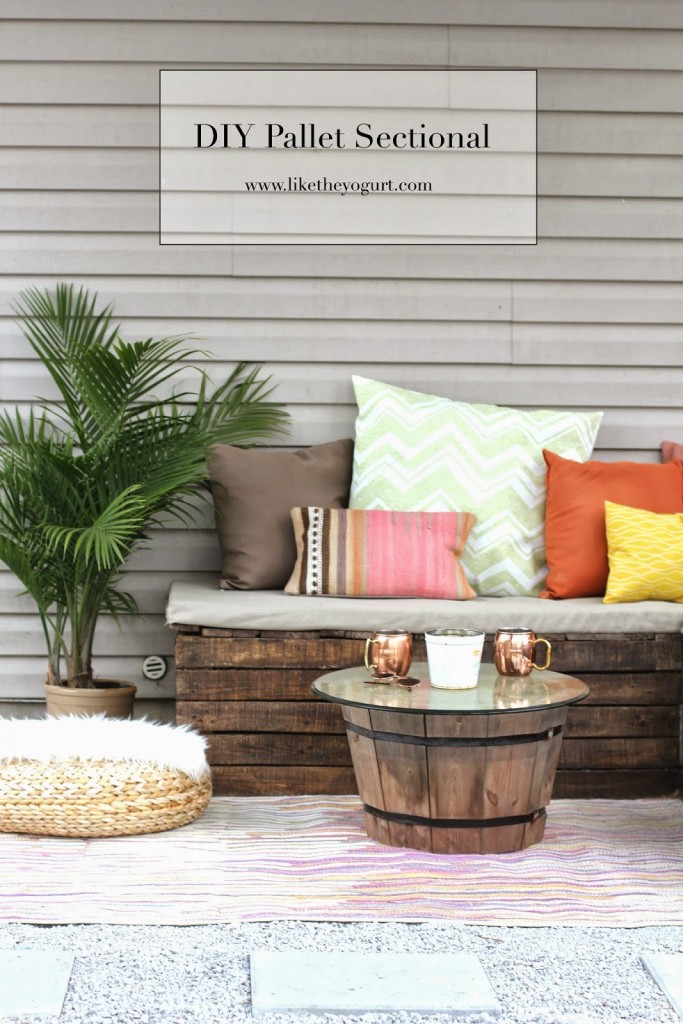
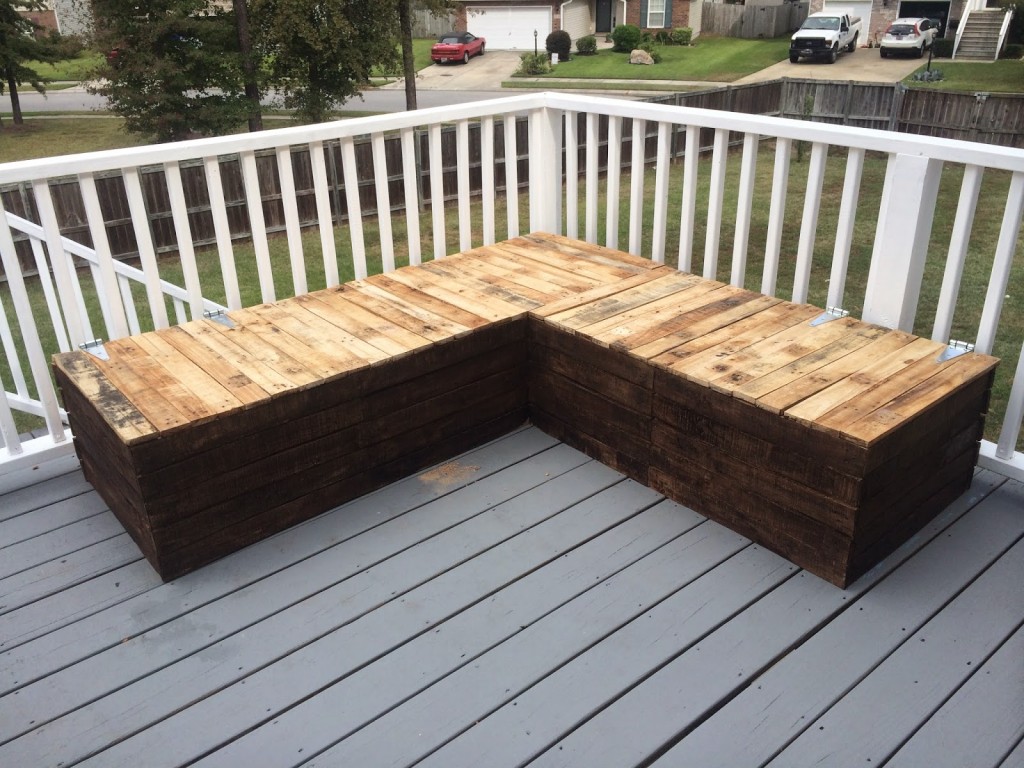
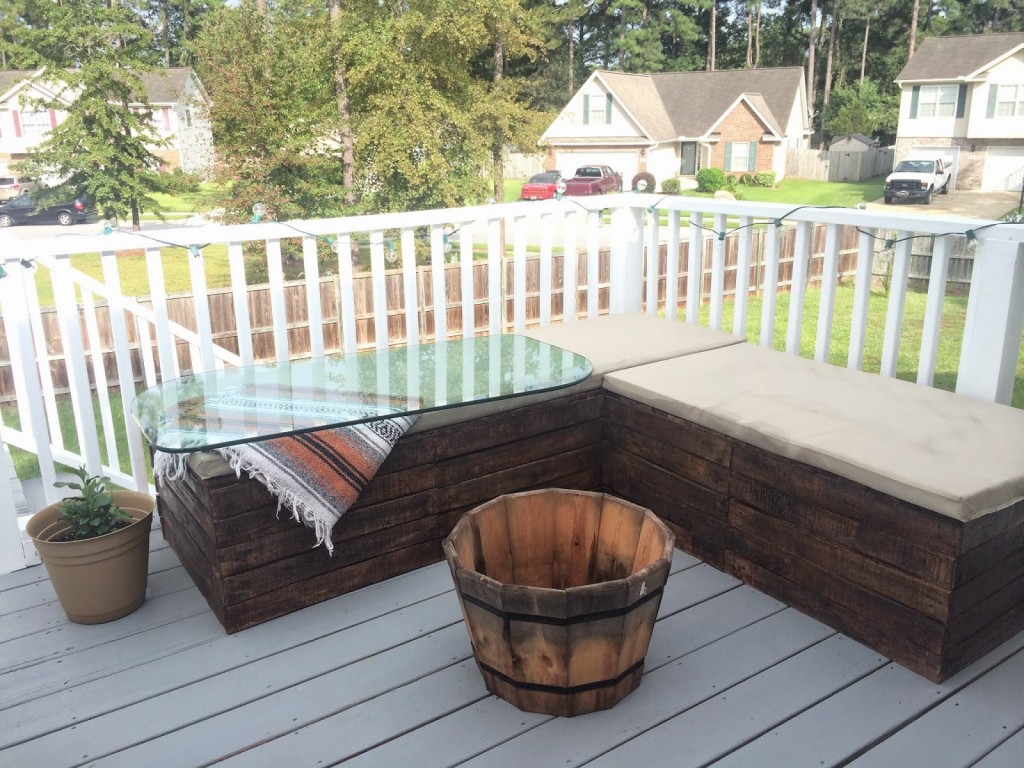
We are still finishing up the last minute touches on our patio underneath our deck and I wanted to share the outdoor couch we made plus give you a sneak peak! Thank you pinterest for opening my eyes to pallet wood and the possibilities it can offer!
I can’t really fathom spending $1000 on an outdoor furniture set, can you? Sometimes you have to just suck it up and buy certain things, but I didn’t want this to be one of those things! Here’s some not-so-easy instructions on how to build your own..fo free 😉
What you’ll need //
LOTS of pallet wood 🙂
Nail Gun
Table Saw
Stain and Sealer (optional)
Hinges (optional)
Steps //
1 – Use a pry bar to separate the pallet wood and find the nicest boards.
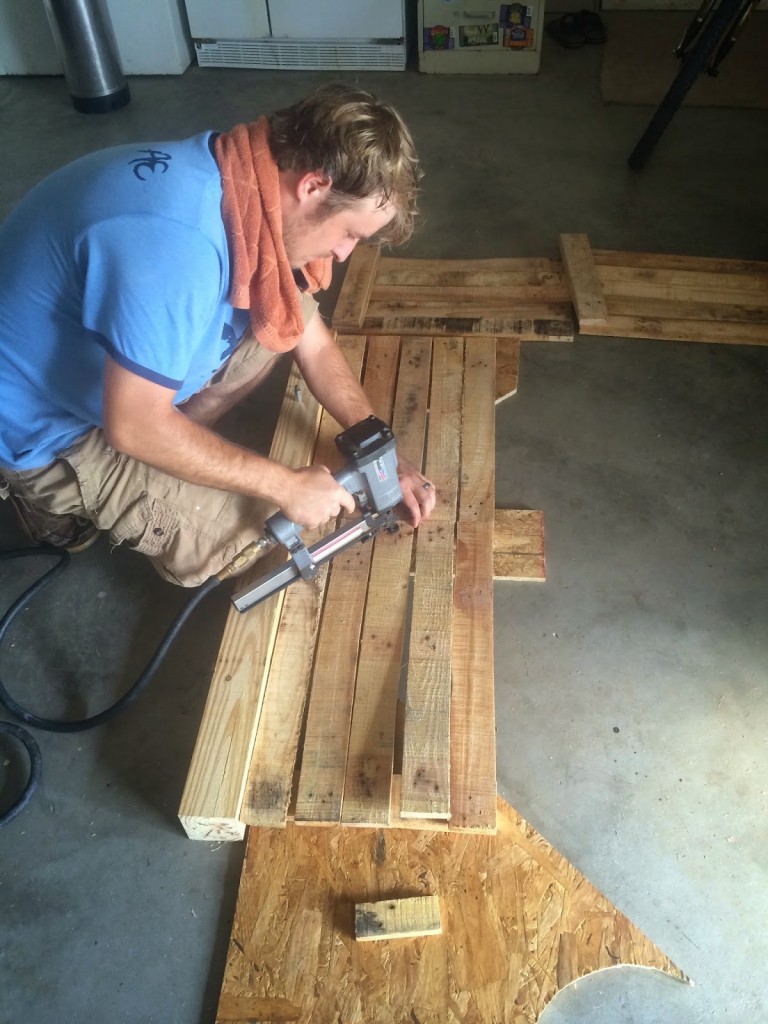
2 – Cut 60 pieces into 24″ for sides, 42 pieces into 25″ for top, 24 pieces into 15″ (nail them together in 2s so that you end up with 12 pieces) to hold sides together and 8 24″ pieces for structural support.
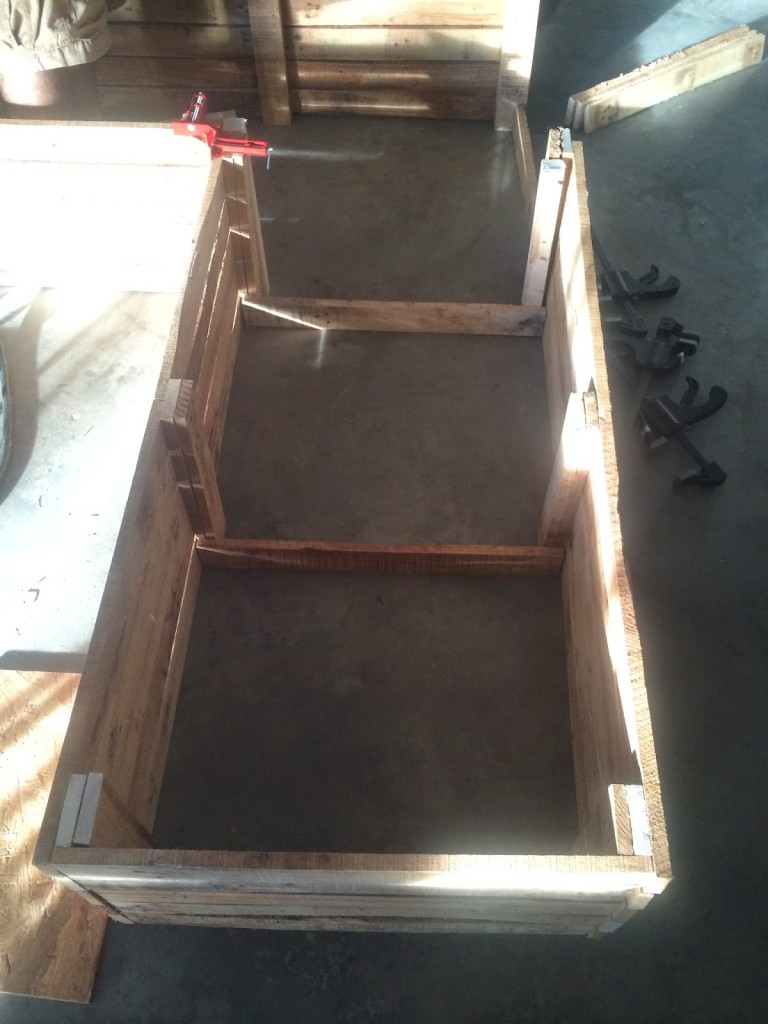
3 – Start laying out 3 of the 15″ double boards and placing 5 pieces of the 24″ palette planks on top of them. The middle board should be sharing the planks.
4 – Nail Together. (You should end up with 2 48″ sections for the inside of the couch and 2 70″ for the outside)
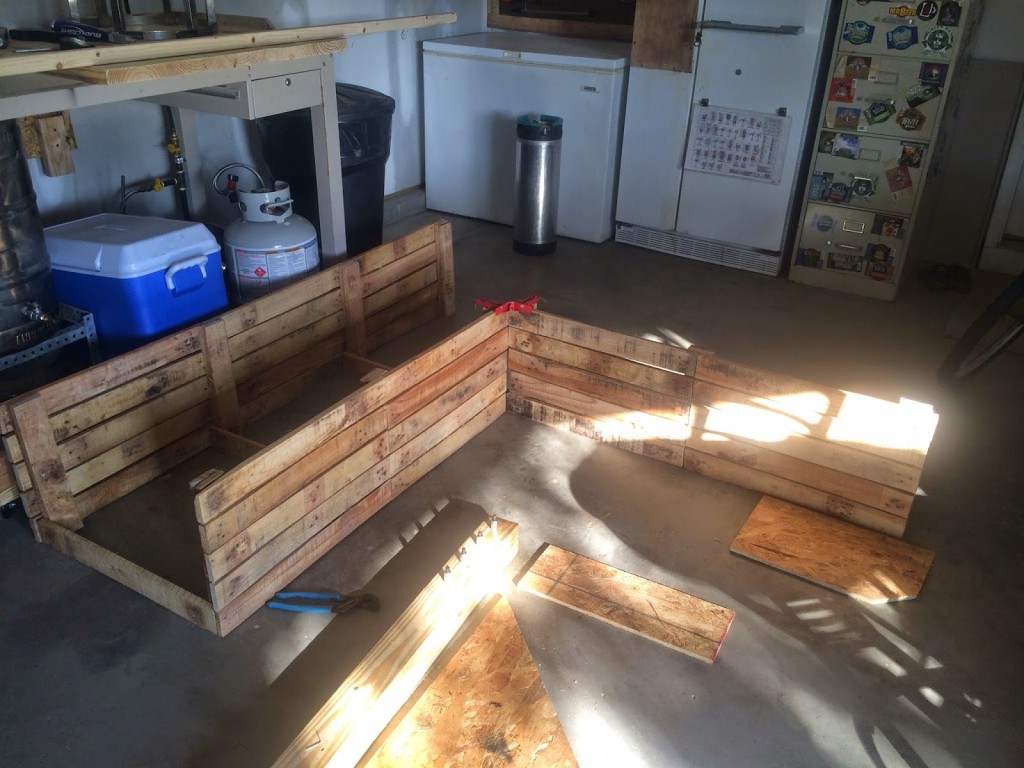
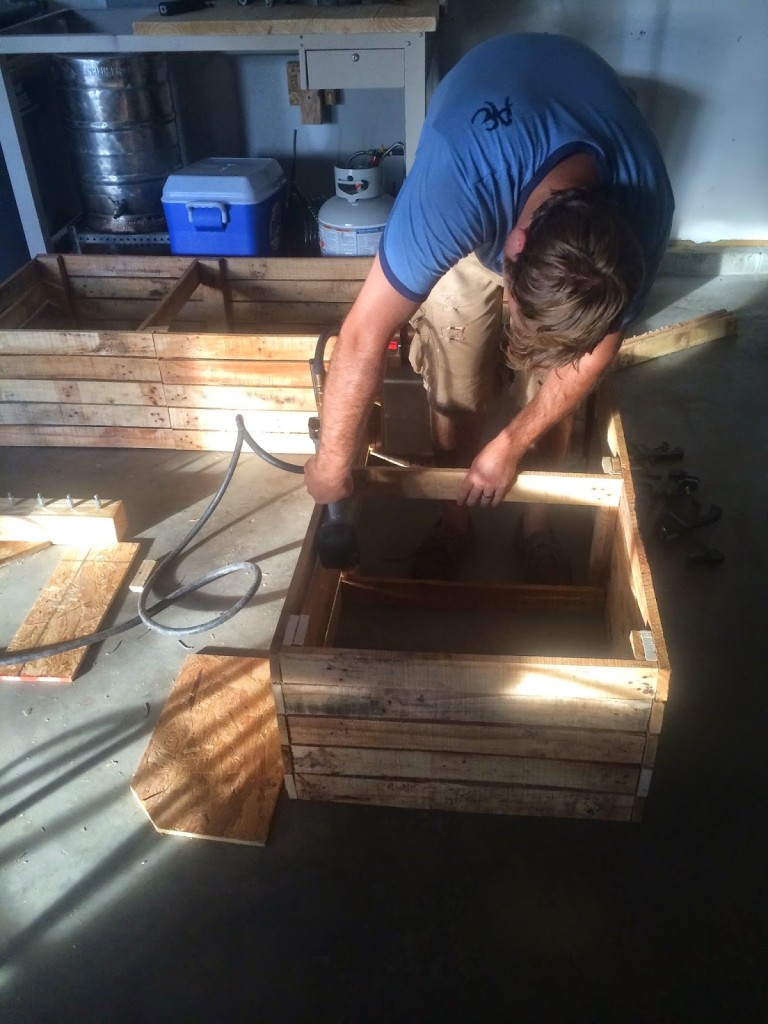
5 – Start standing them up and placing 6 pieces next to the pieces that are holding the planks together; connect the sections.
6 – At this point, go ahead and nail the rest of our 24″ pieces to each side to close in the box.
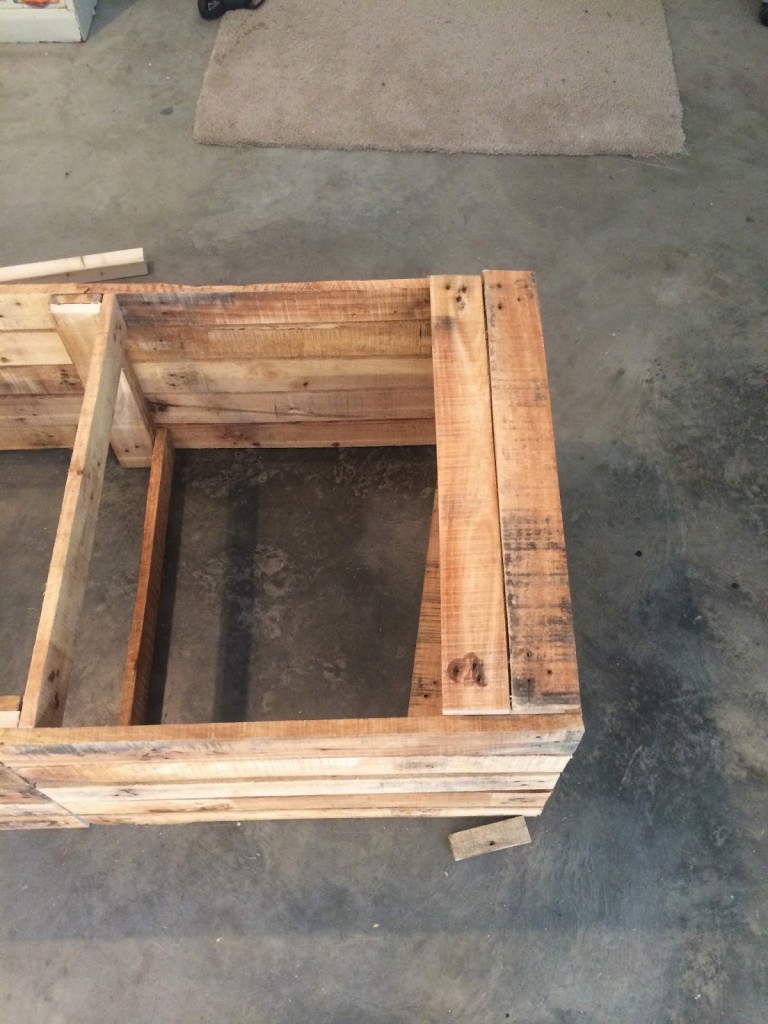
7 – Repeat step 5 for the top to keep secure.
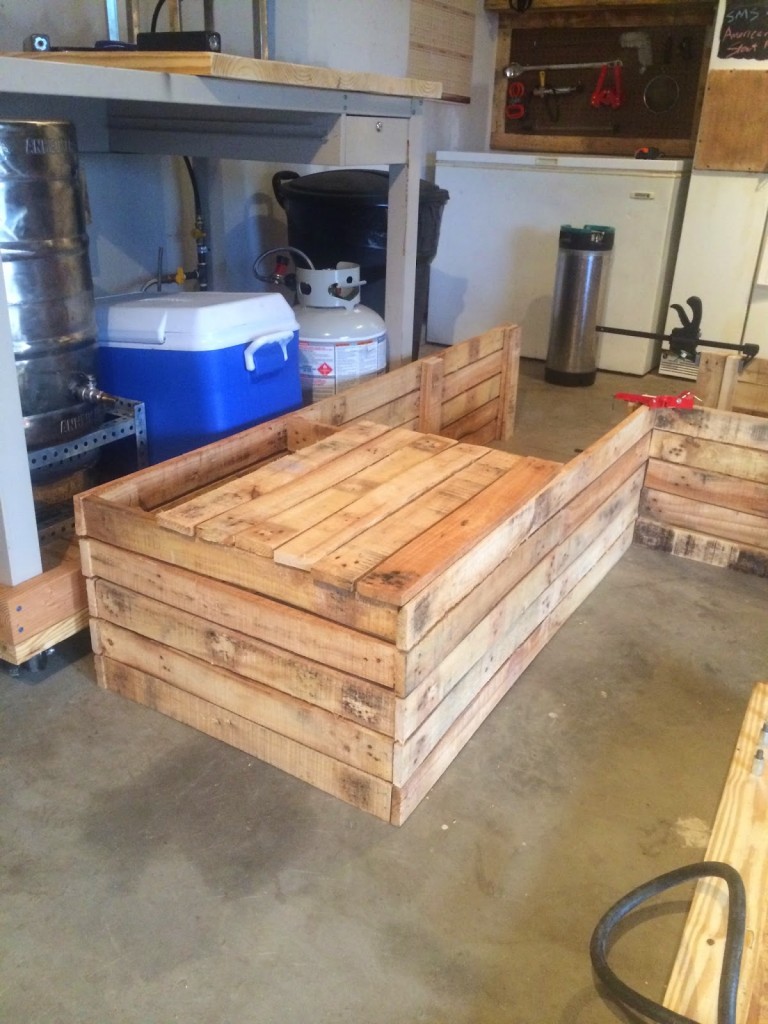
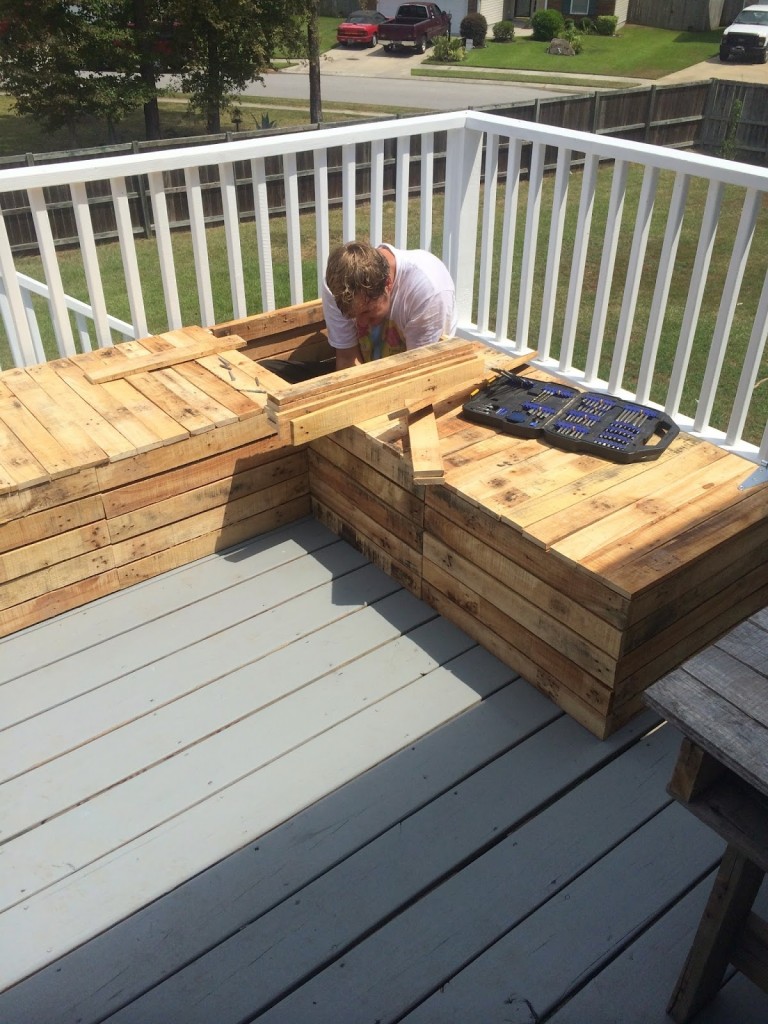
8 – Lay out the planks on the top and start nailing to the “joint” palettes below that are connecting everything together. Continue until the entire top is sealed.
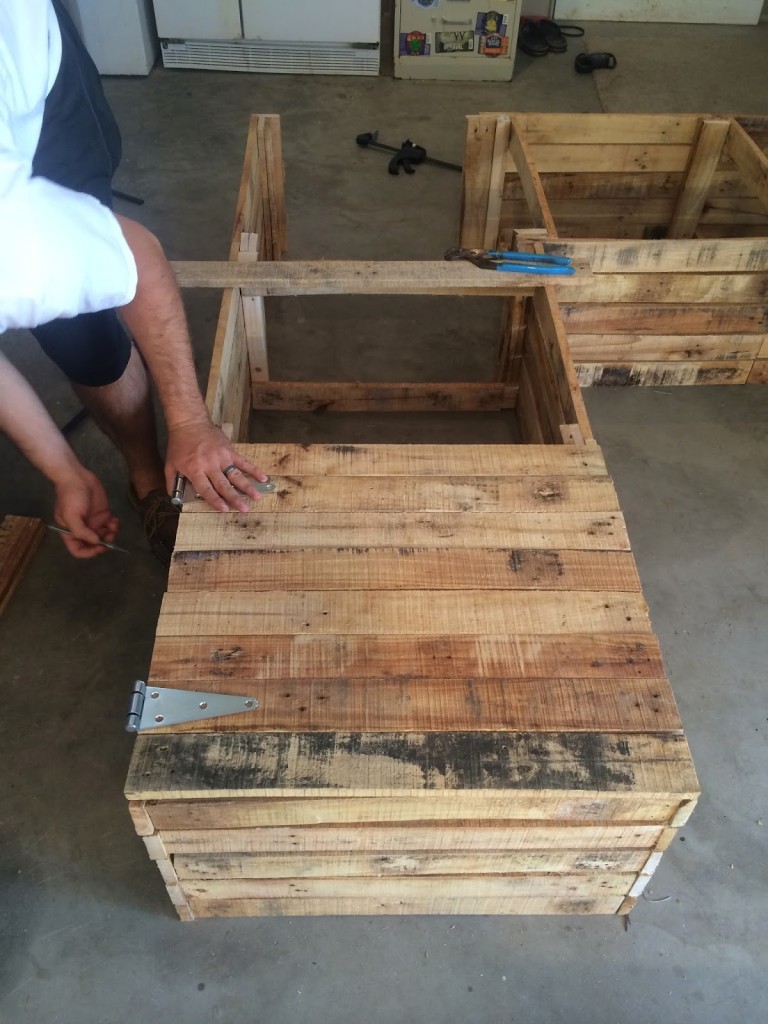
This part is optional. We wanting to use each end as storage so after we laid out the planks, we nailed 2 4″ boards underneath (it was tricky, but we guessed where to nail on top). Then we secured 2 hinges to the top and back to make a door.
This is where Josh decided to completely assemble the two pieces with screws. We didn’t anticipate on moving it at the time, but it’s pretty stable!
Another option..Stain and seal the wood!
As far as the cushions.. I custom made them using the following //
1 70″ piece of 3″ inch foam
1 48″ piece of 3″ inch foam
3 yards of outdoor fabric
needle, thread, pins scissors
liquid stitch
fray clue
(All from Joanns)
Instructions //
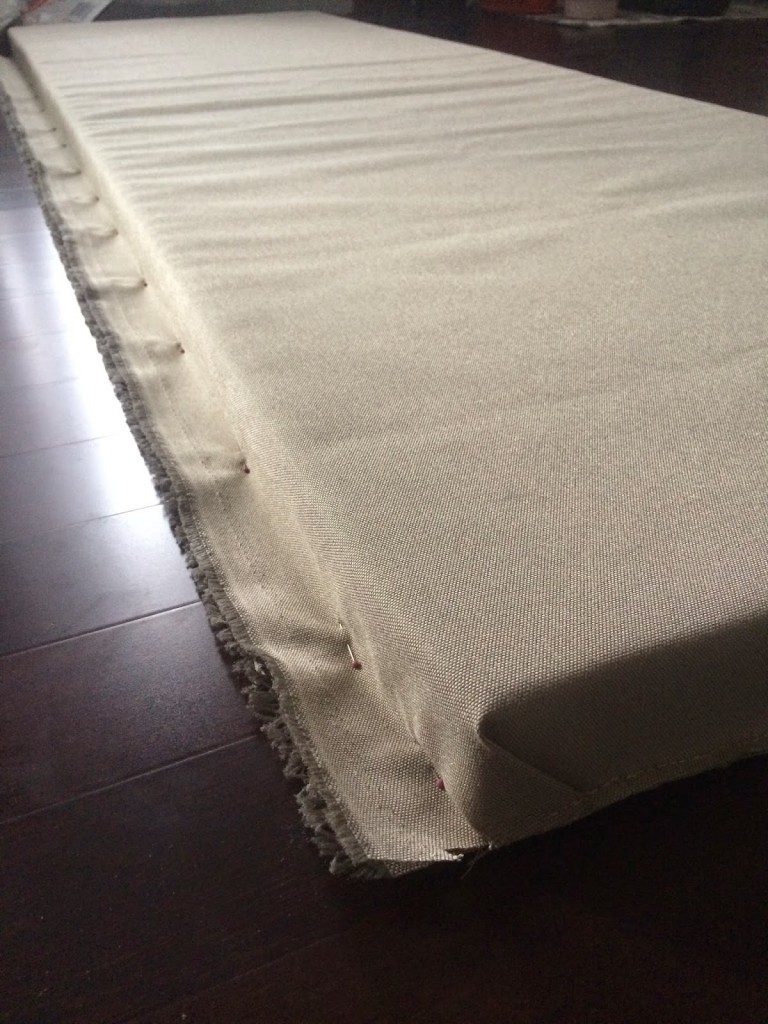
1 – Fold the yard of fabric over the foam.
2 – Secure ends with pins.
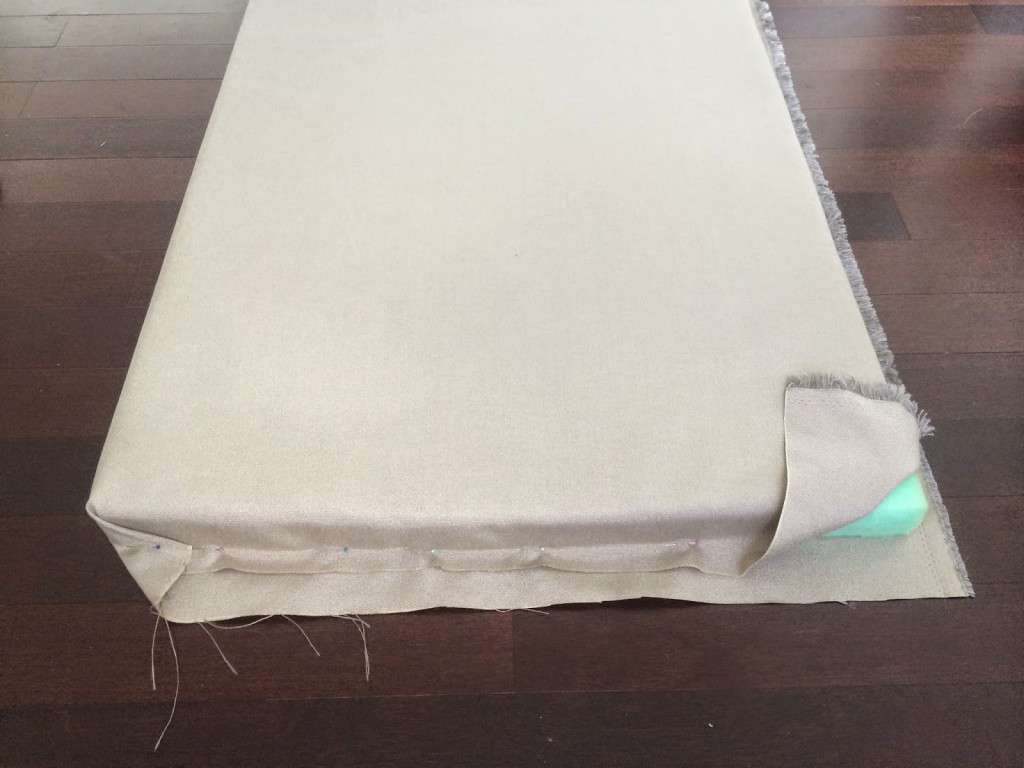
3 – Sew as close to the foam as possible.
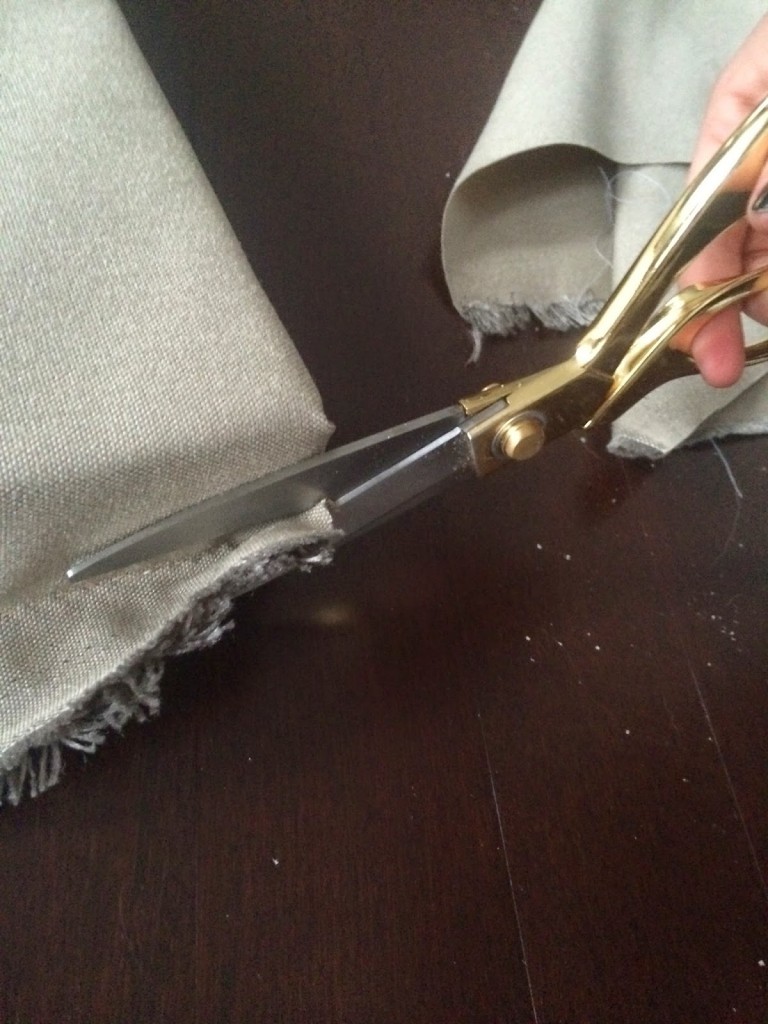
4 – Then cut the excess fabric.
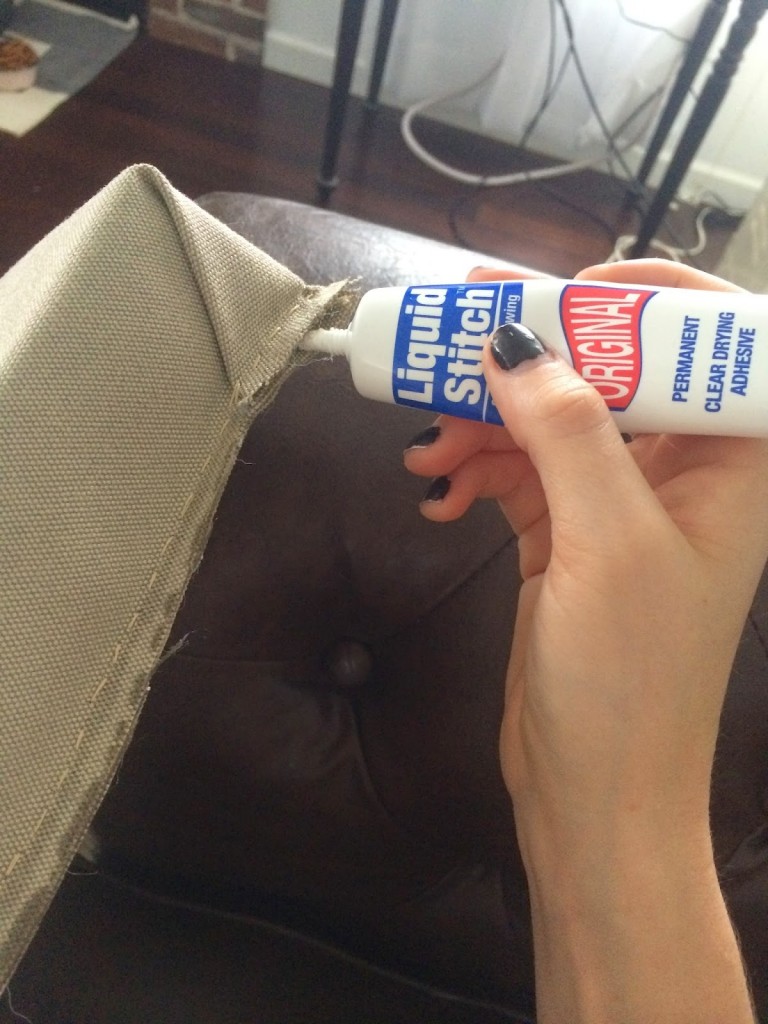
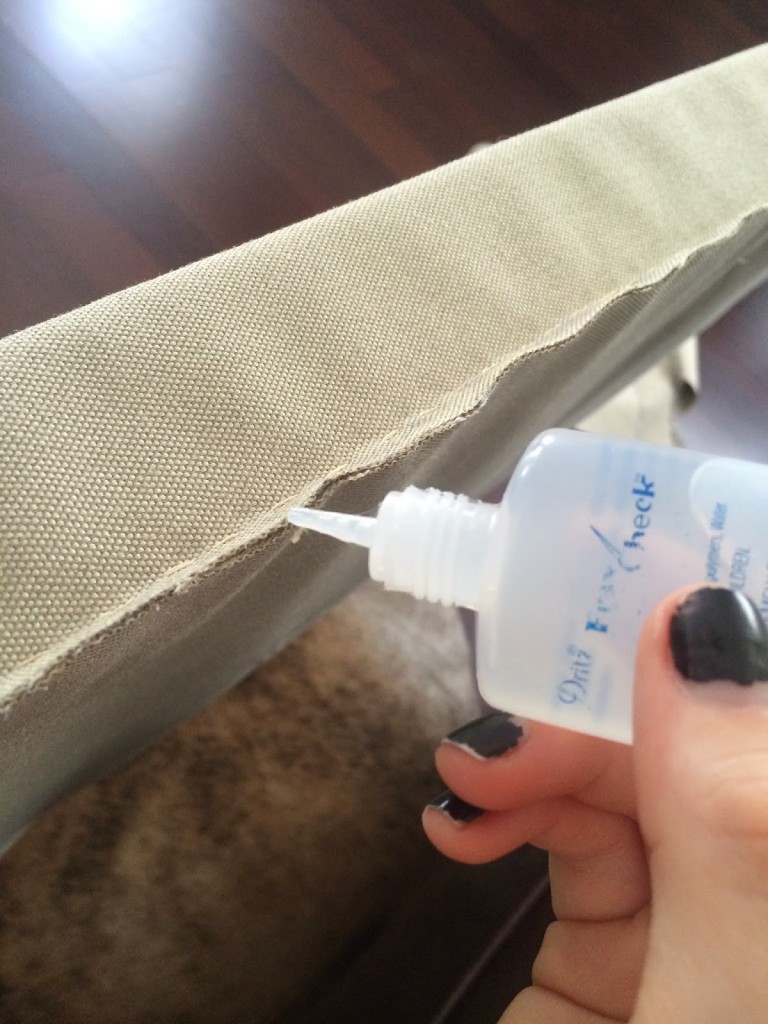
5 – I used liquid stitch to clue the fabric together and then a fray preventative clue at the seam.
Add pillows and sit back and enjoy!
Stay In Touch!
Collaborations, Media and General Inquiries please visit my Contact page.




5 Comments
Comments are closed.