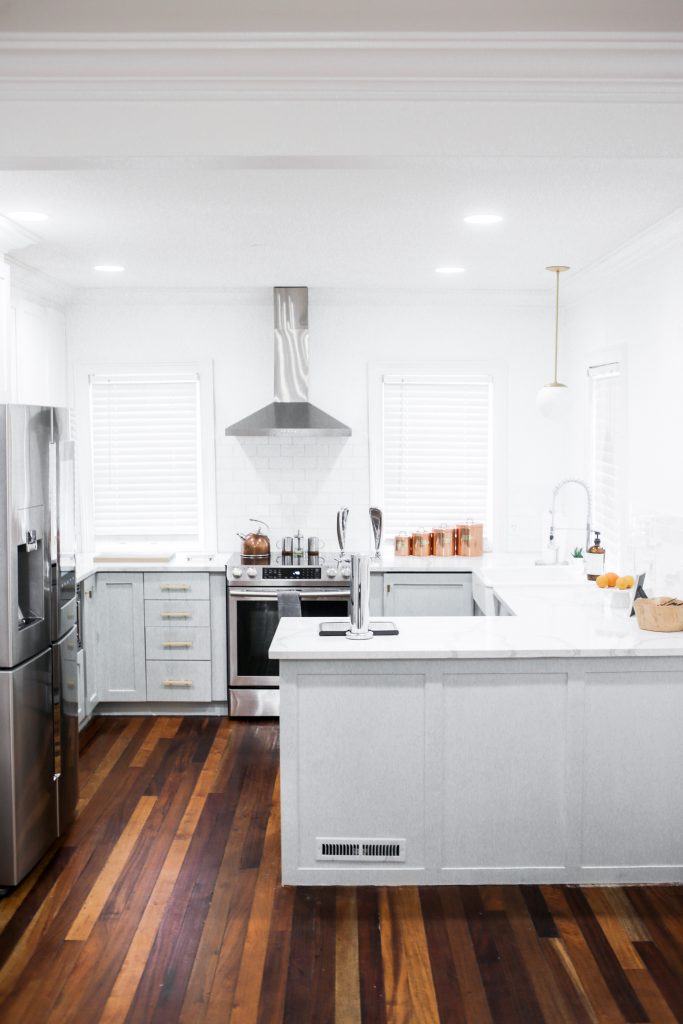
Downtown Kitchen Reveal
FINALLY! (Right?!) Believe it or not, this kitchen renovation actually only took us 2 weeks to complete. 1 week of non-stop, 7am-11pm days for Josh and I both and then another for me with finishing touches. Having Josh take a week off, using his vacation time, was the smartest decision. We’ve done kitchen renovations before as weekend projects and let me tell you, that’s the one room in the house you can’t be without for too long without loosing your sanity!
Let me start off by saying this room really didn’t need to be renovated, but that was also a bonus for us seeing as how we wanted the layout and design to be a certain way. I would have cried if I had to rip apart beautiful cabinets and countertops (now knowing how expensive those can be!)
And I’d like to add that the most stressful, overwhelming part of this whole process was actually the ikea trip (that place ain’t just a hop, skip and a jump away from us..) Also, figuring out what cabinets we needed to buy, keep, etc to fit the space and design we had in mind. Planning a project and what to buy is the hardest for us both (Definitely use a CAD software to help with that!), but actually starting it..psh! We get so excited when we jump in!
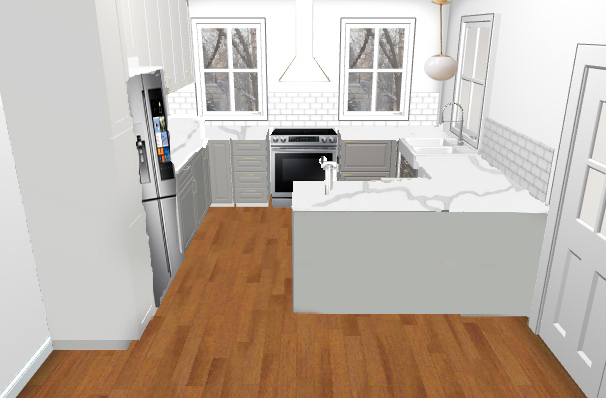
And if you saw my last post on the design concept, you would have seen my mood board and that the inspiration was 100% from the amazing designer, Sarah Sherman Samuel, and what she did for her home! 🙂
First: TAKE BEFORE AND PROGRESS PICS! haha
And measure anything you plan to list and sell (like the old countertops we somehow sold for $300..)
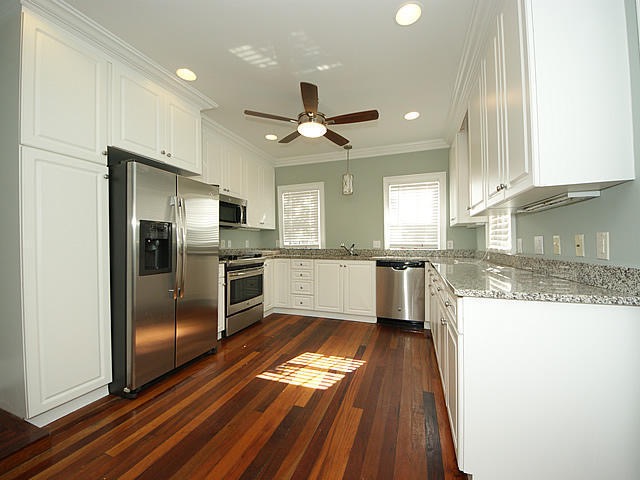
This baby had a ceiling fan in it 😉
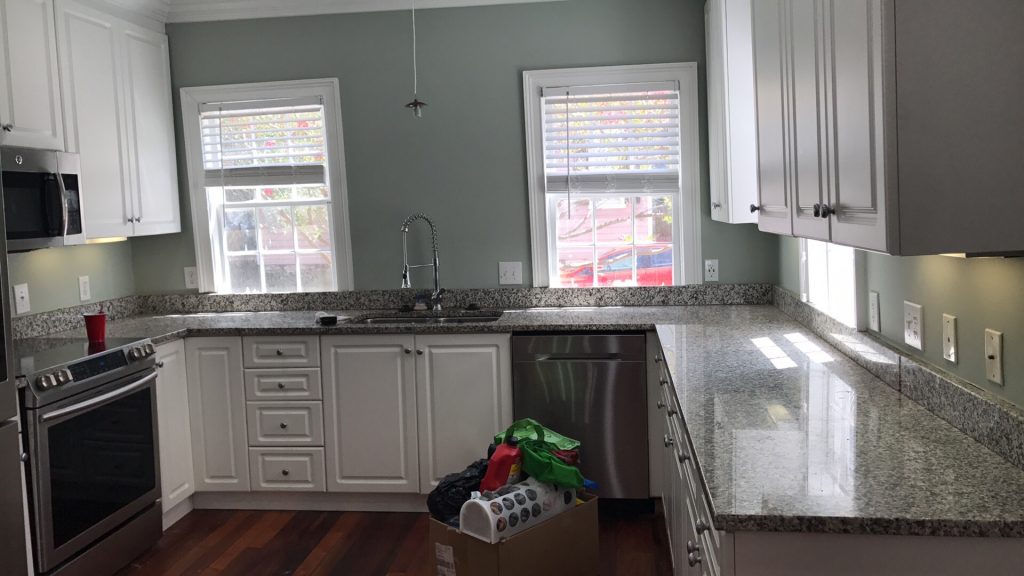
Now it was time to remove the old countertops..
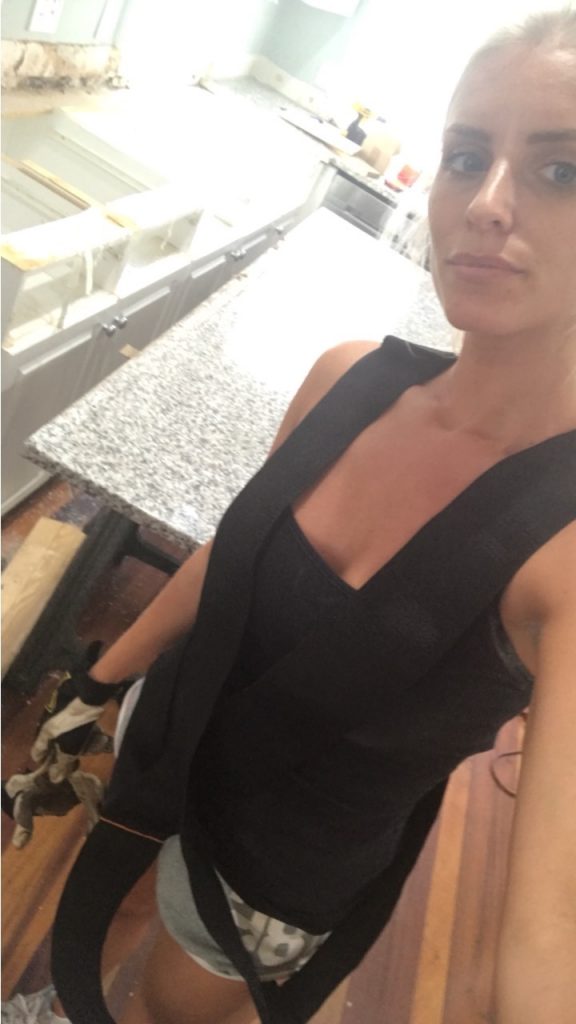
(pictures to prove I equally contributed to this renovation or it didn’t happen haha)
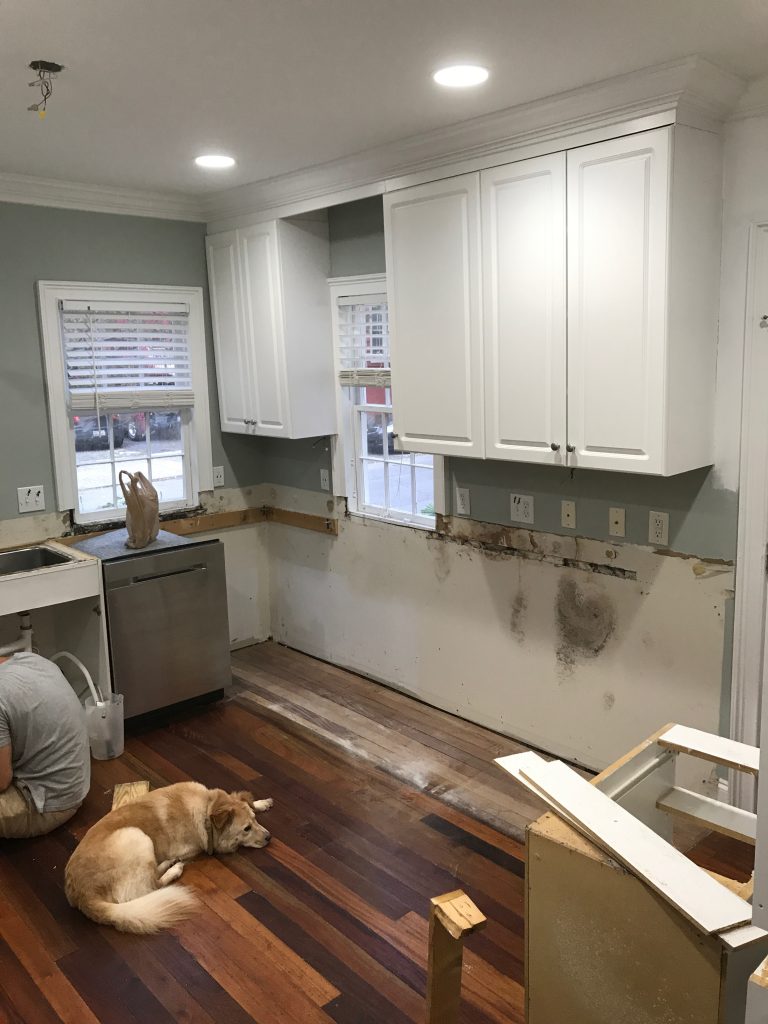
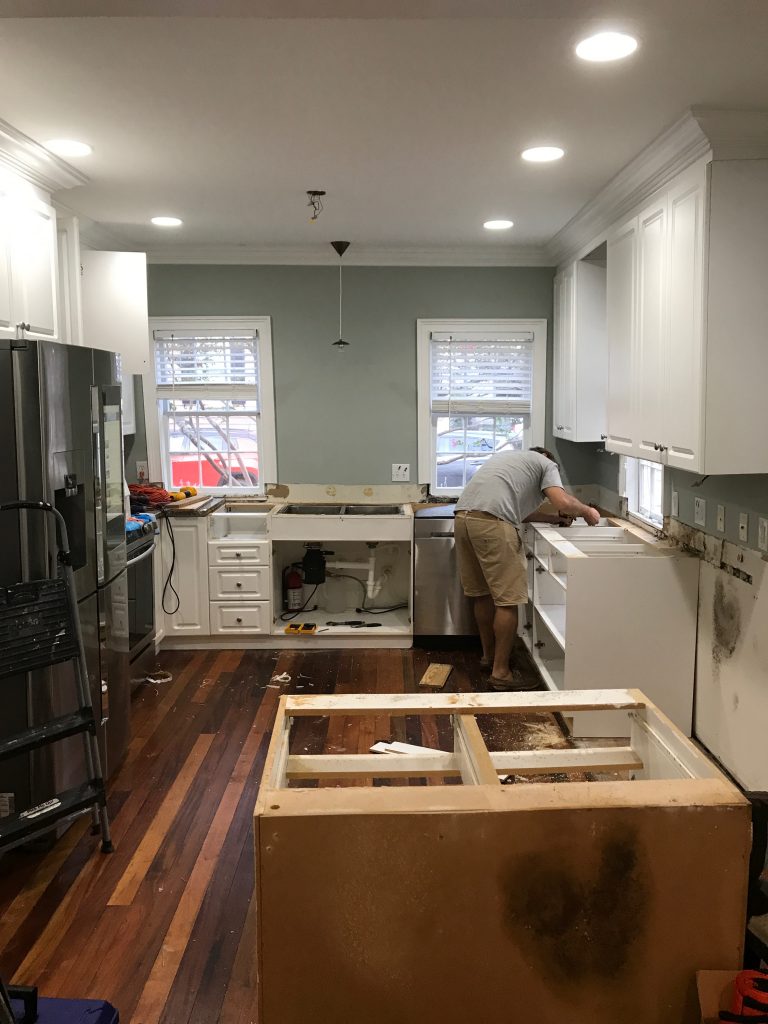
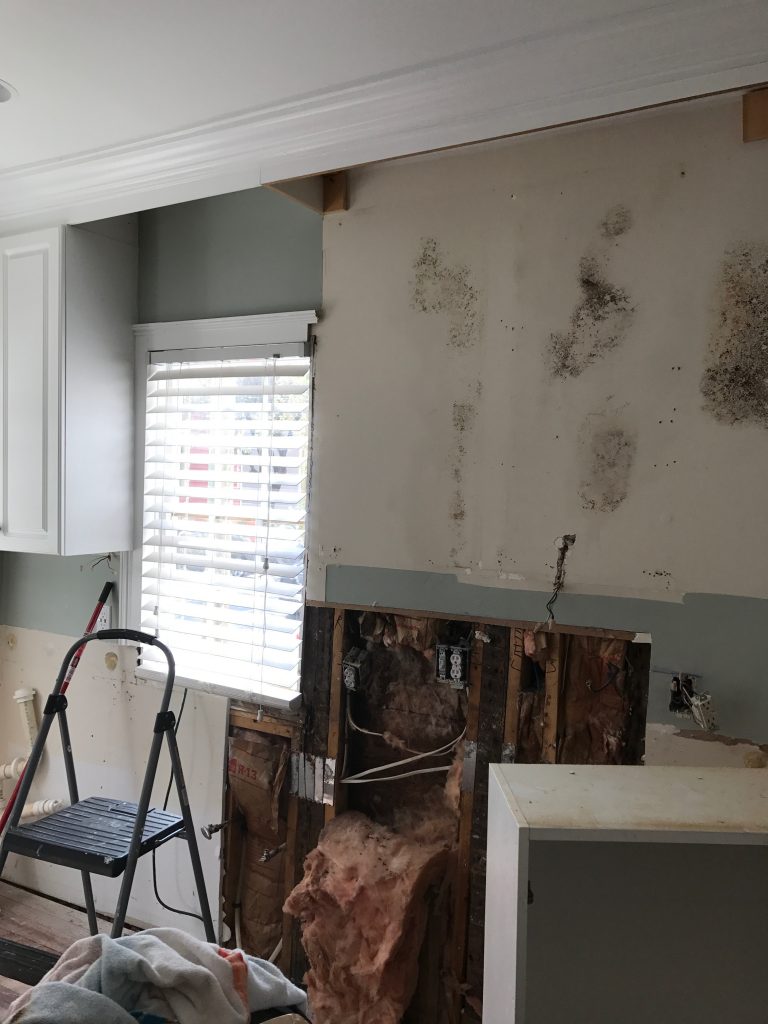
Per usual, we jump around tasks. Josh and I definitely work better together when we do different sections. This causes less confusion since we have two totally different ways of fixing things.
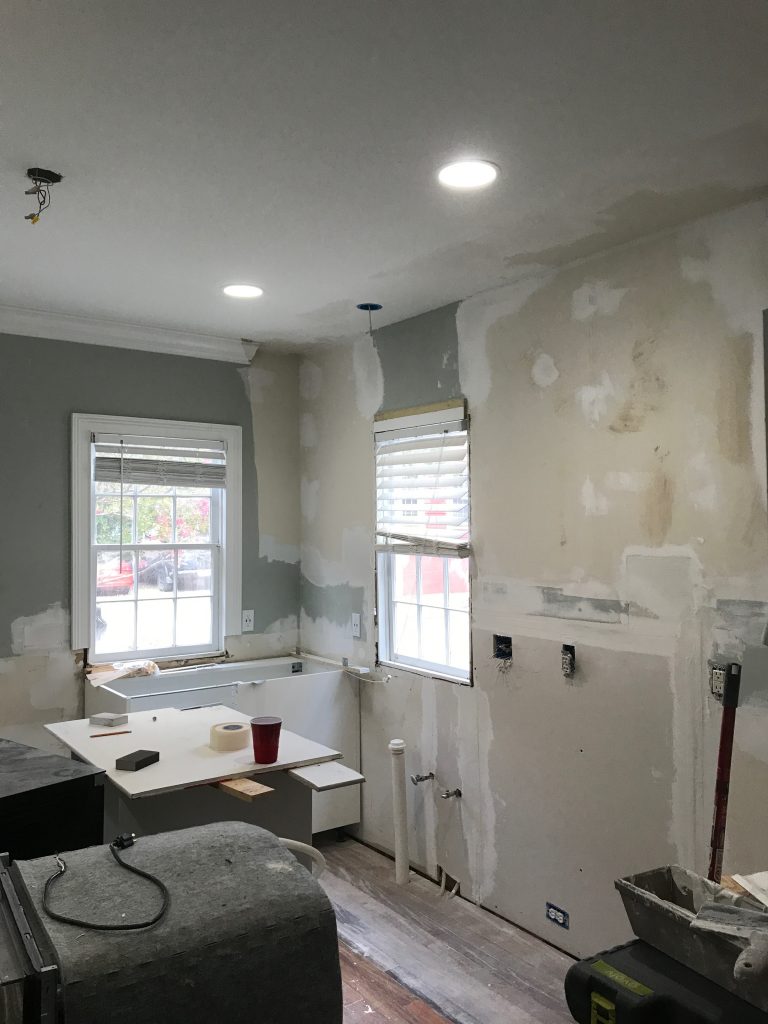
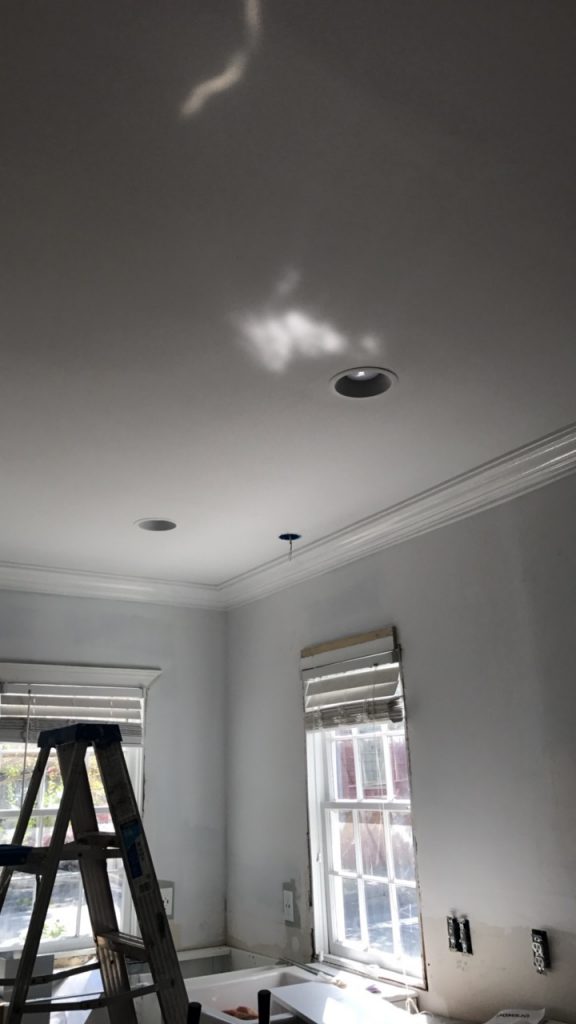
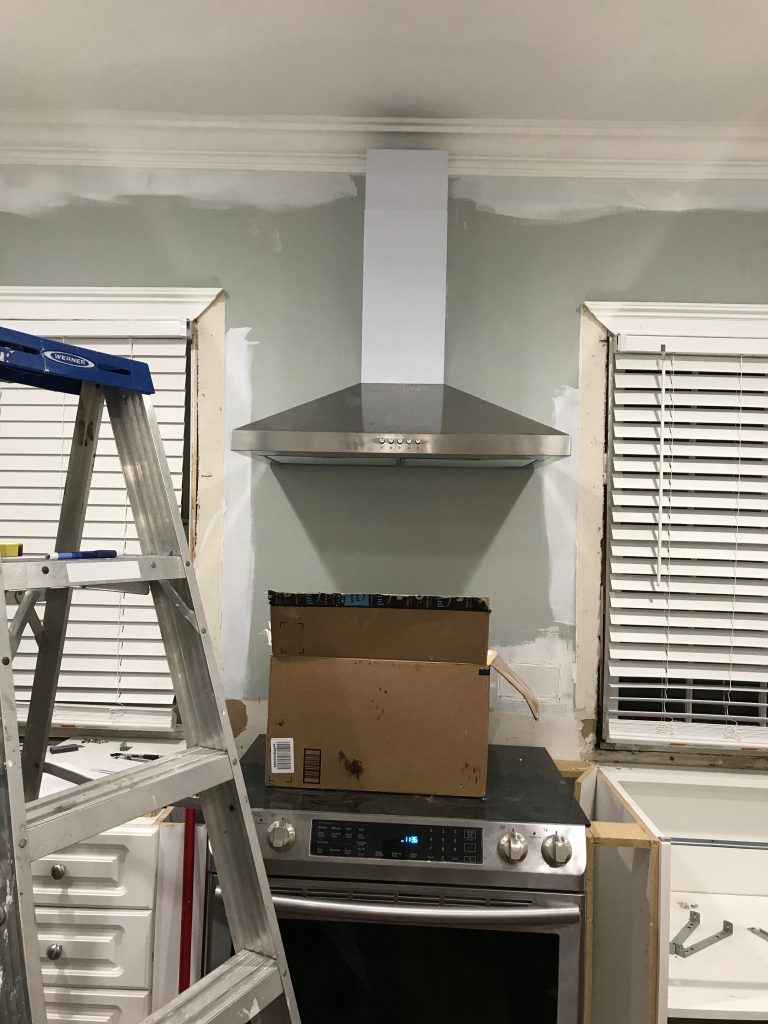
So I worked on removing the upper cabinets and crown molding, re-spackling the ceiling and walls, installing the light fixtures and range hood, and assembling all the new cabinets. While Josh did all the hard stuff 😉

Of course, I’d stop to see if he needed anything since he always gets the fun tasks. Plus, I didn’t want him getting stuck underneath our tight crawlspace! Rerouting the plumbing and electrical is no joke!!
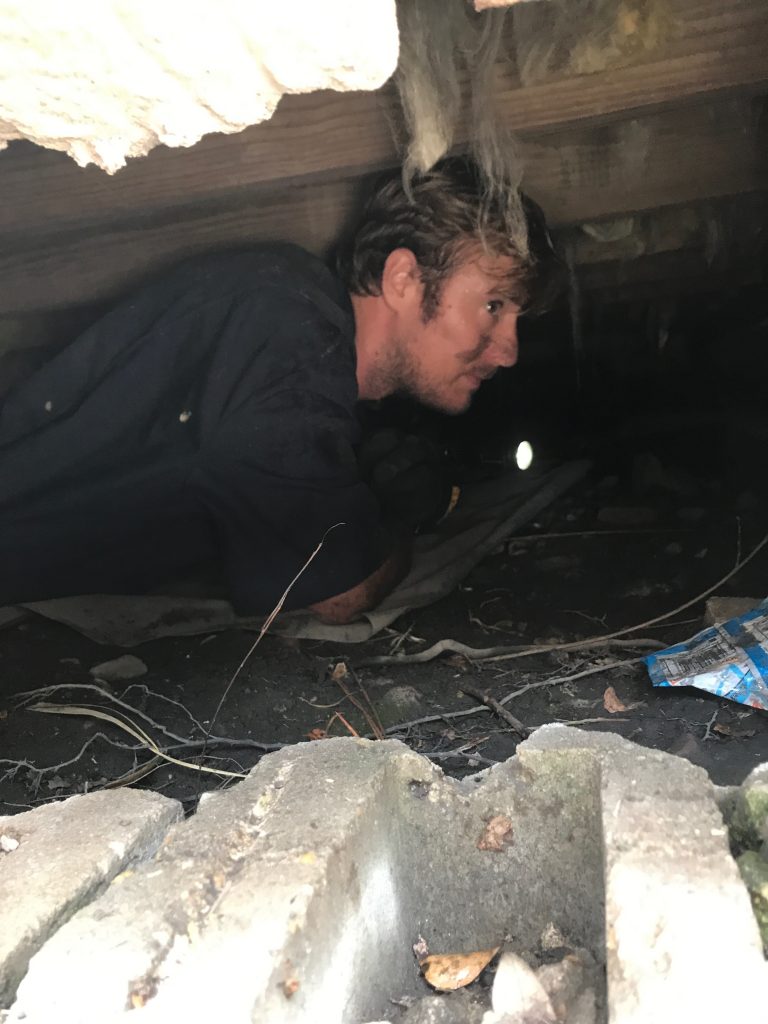
He’s so cute in that jumpsuit..all dirty and stuff 😉
And once you’ve got everything where it needs to be and have TESTED all the outlets (with the right switches too haha), water works, etc, then drywall, spackle, sand and all that awful boring stuff..
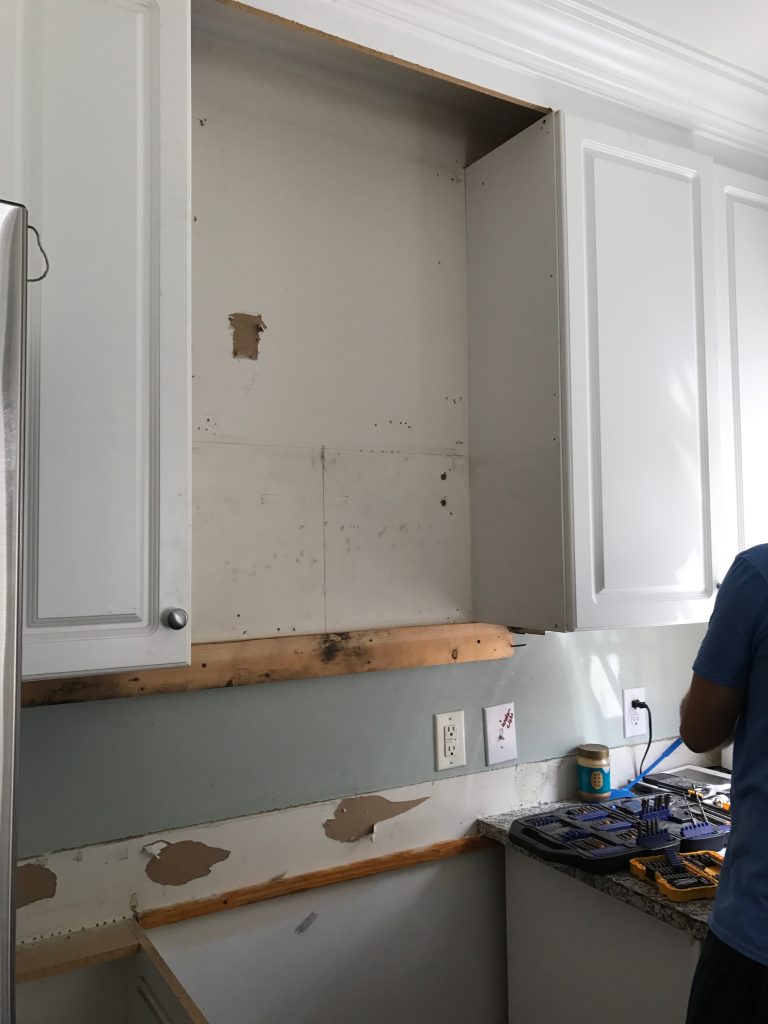
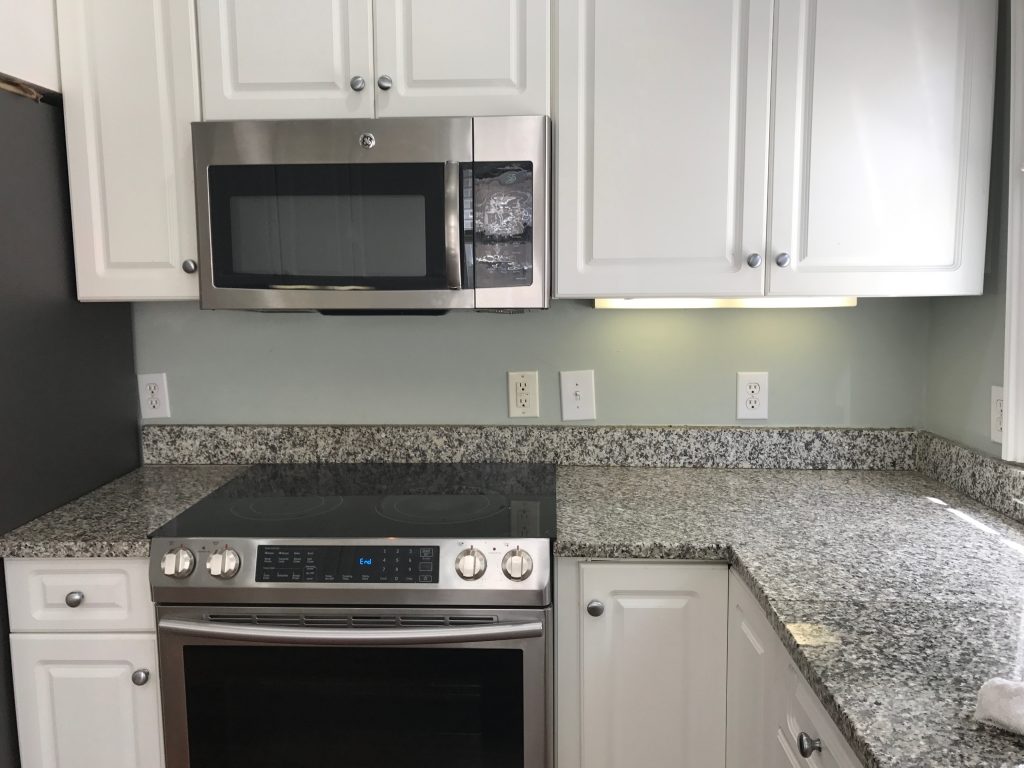
Taking down the microwave and cabinet and replacing it with one of the upper cabinets from the other side of the kitchen that we removed (Reuse = money saver, right?!)
We wanted a built in microwave in the base cabinets since we were putting in a range hood and we also didn’t want to waste counter space this time 🙂
Now it’s time to assemble your new cabinets, arrange them as such, and start leveling them before securing them to the wall.
Side-note: Ikea does not tell you that you need, nor do the cabinet frames come with, a mounting rail which we did not realize until after assembly!!! You cannot buy these anywhere else other than iKea and God help you if the nearest store is 3 hours away..
The only reason we were able to get around that fiasco was because we salvaged a lot of the old base cabinets, which were able to be screwed into the studs (unlike the ikea ones..with cheap laminate backing)
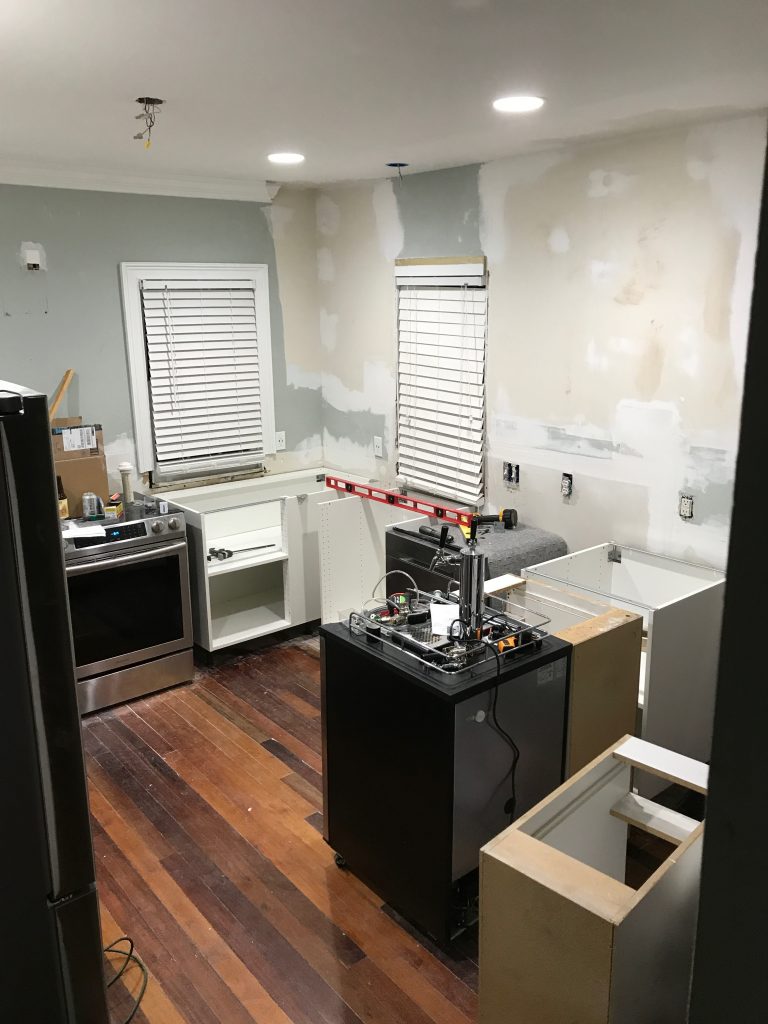
Then the second issue we ran into was cabinets having a lot of wasted space in between them that we didn’t anticipate. After putting our heads together, we were able to come up with 3 ways to make use of those spaces! A hidden, push-to-open spice rack (which Josh made from scratch!), DIY wine rack and bottle holders and a sliding drawer/shelf for the side of the sink which perfectly fits paper towels, dish detergent and cleaning brushes, etc!
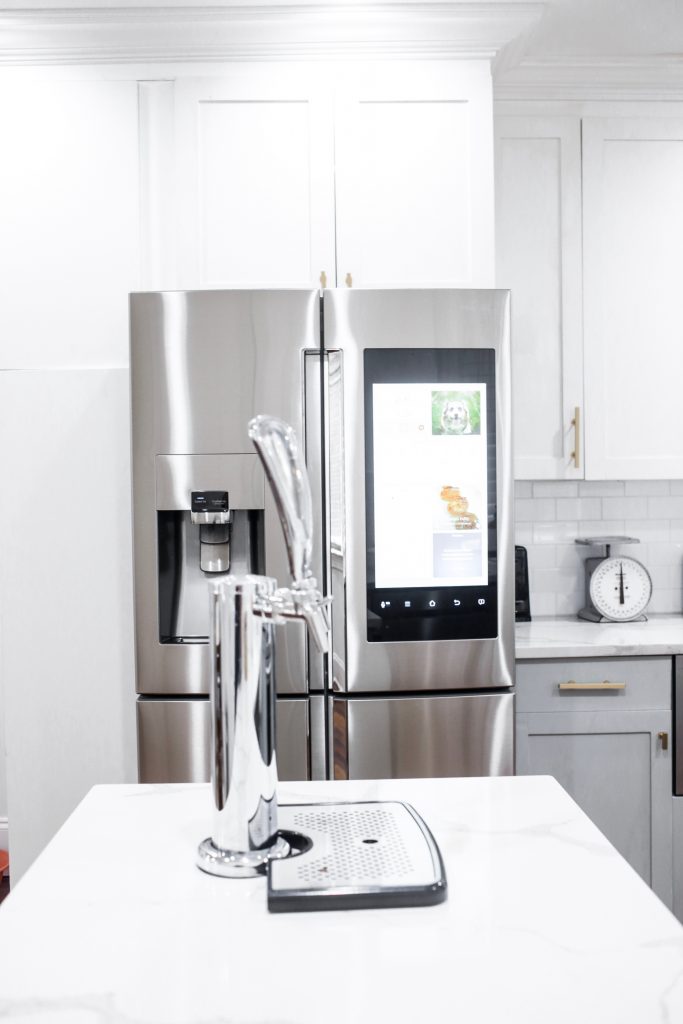
Also, part of our design for the peninsula, that held the kegerator, was to make it possible to detach, incase new owners didn’t want that feature. There is a seam in the countertops, as well as a basic 2 door cabinet (beside dishwasher) that we left open. A salvaged base cabinet was used beside the kegerator (to push out the peninsula) and we cut out a whole in the side of it so that you could access the cabinet closet to the wall..kind of like the corner cabinet by the stove! (Whew-lots to consider huh?!)
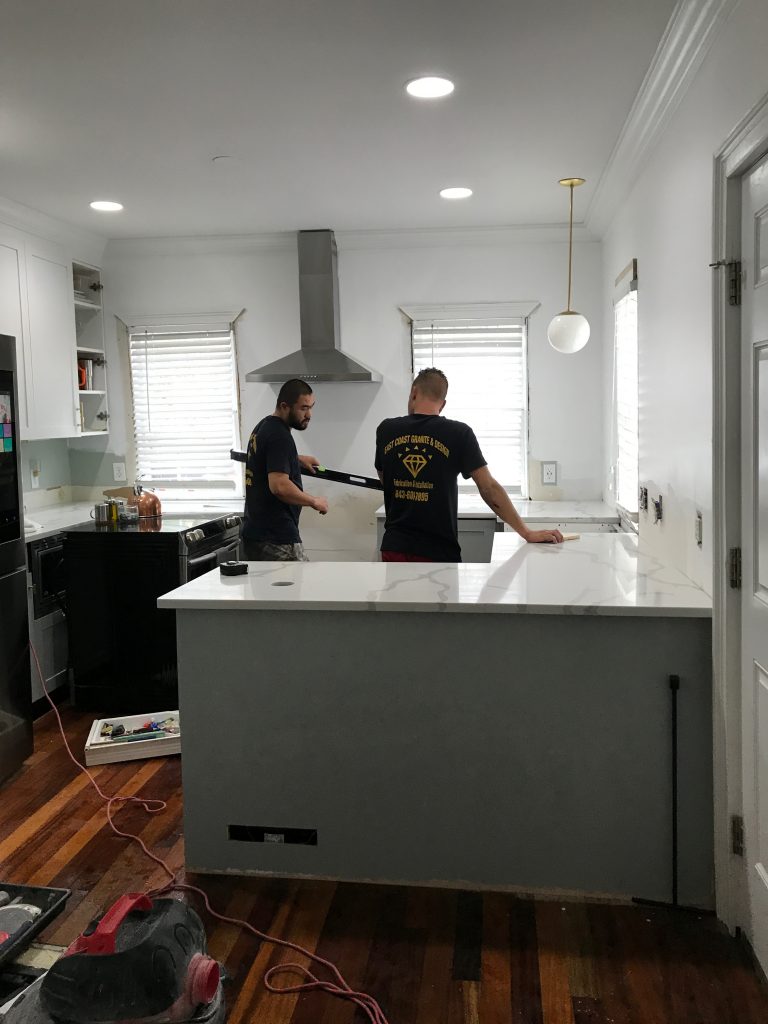
Now time for the fabricator to come in and frame the countertops! We were freaking HUSTLING at this point since EVERYTHING had to be aligned, leveled and secured in its place, before this process could happen and the countertops even ordered! Luckily, EastCoast Granite and Design has a 7-10 business day delivery guarantee so the turn around is super fast! They even let you come out to their facility before they cut to make sure you like where the stencil placement on the quartz is, incase you want less/more veins in certain spots!
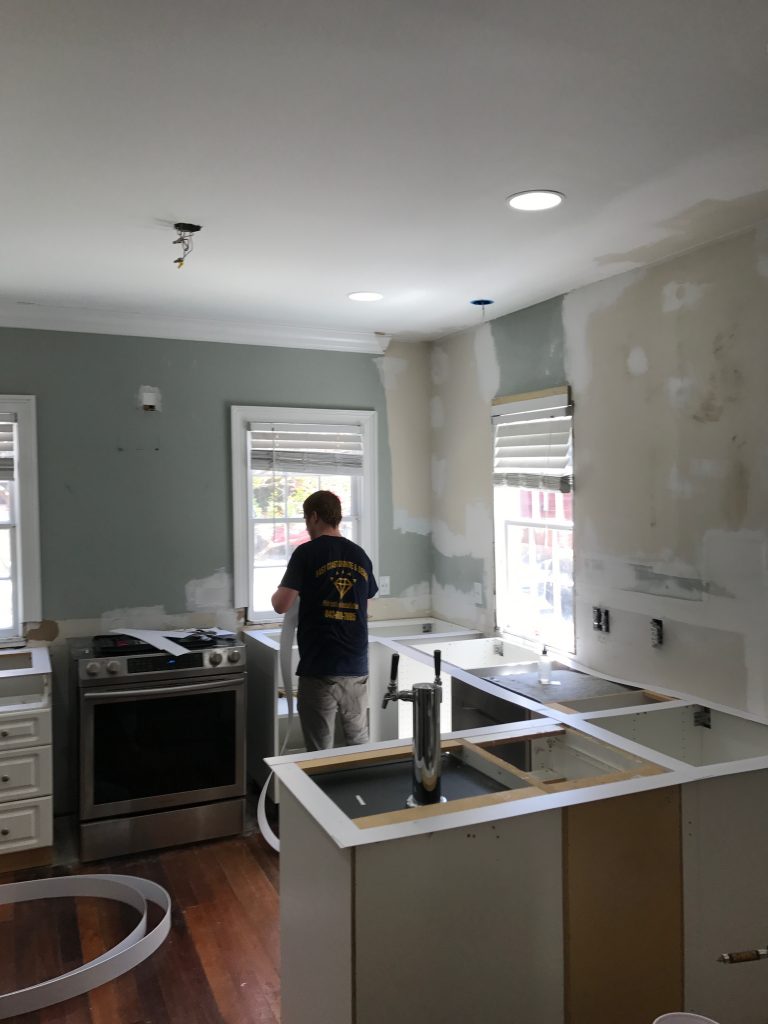
Paint time!
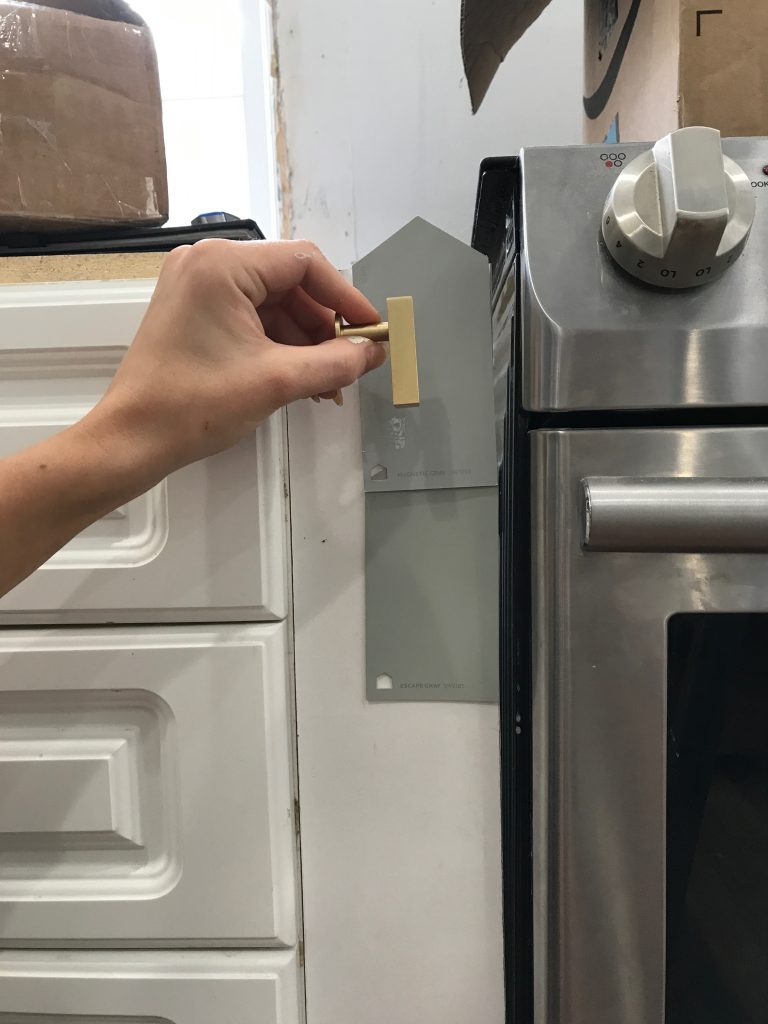
I’m honestly so surprised I was able to just pick out 2 samples out the gateway in Lowes lol Posted an instastory to get the publics opinion and bam-easy peasy. Question now would be, would I actually like it after it’s done?! haha Safe to say I did and we get compliments on the color all the time! The Sherwin Williams collection at Lowes in Magnetic Gray!
DIY Shaker Cabinet Doors
This took a little convincing for Josh. Lets face it, we didn’t really have time for that. But we also never like spending money on things we can make ourselves. But after finding this tutorial from Remodelaholic and nailing down an assembly line for the production, it was pretty smooth sailing!!
Josh is an engineer and a very patient, thorough man. I knew the cabinets were going to be perfectly measured and look like they were professionally done! Now I just had to make sure I didn’t get lazy and be just as thorough when it came for me to assemble, paint and install the hardware for them..Yep-hinges, draw pulls and all (I’m FREAKING OUT!)
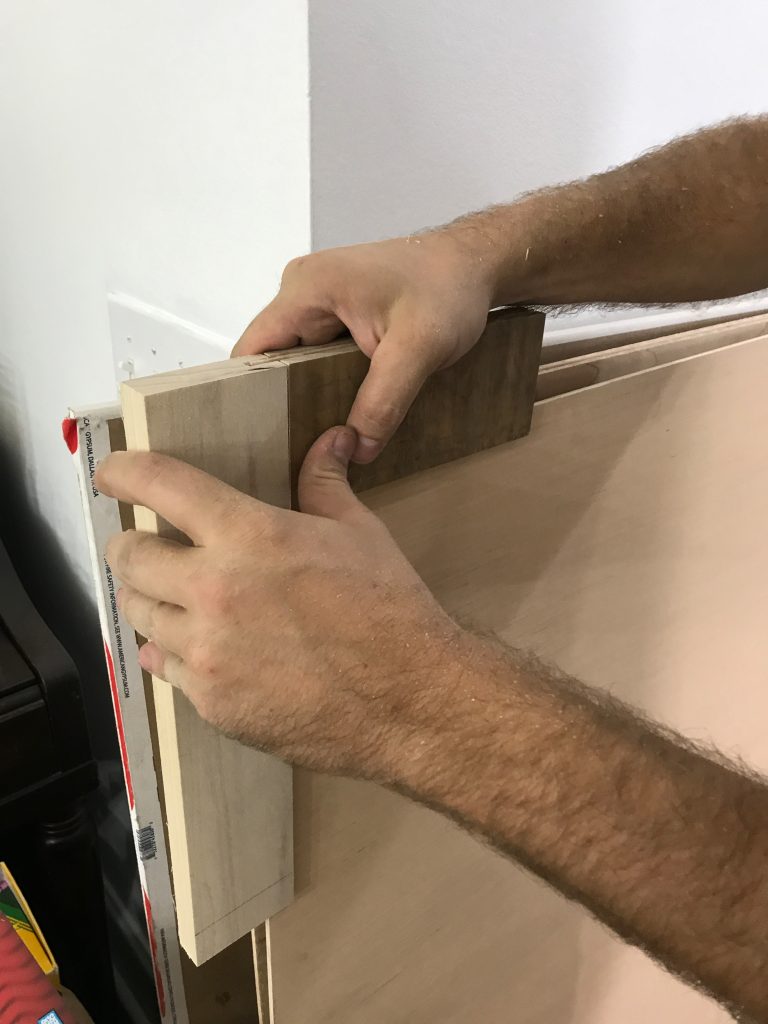
So after I glued, assembled, used a nail gun for extra security, puttied the seams and nail holes, sanded and caulked the inserts, it was time to paint!
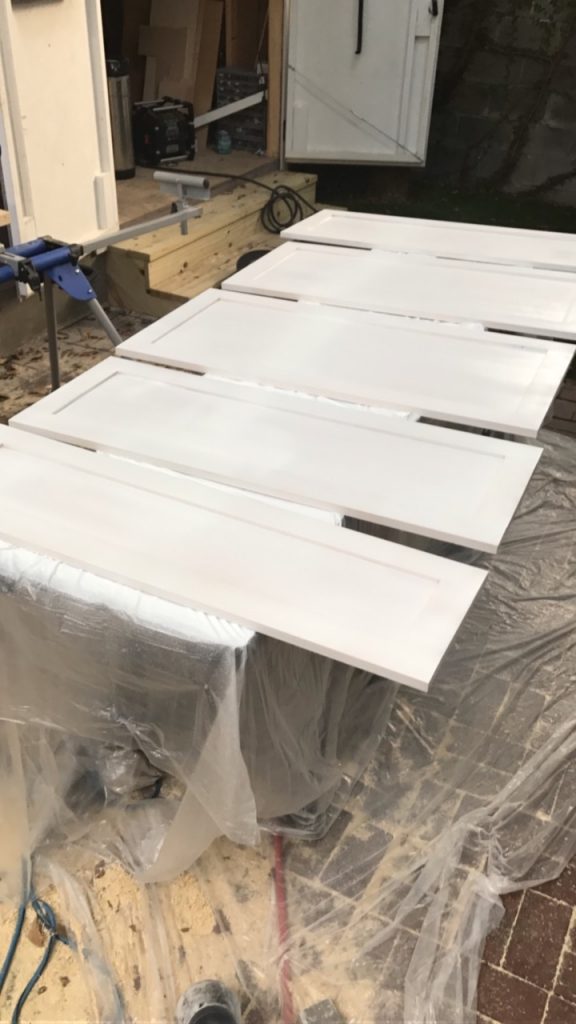
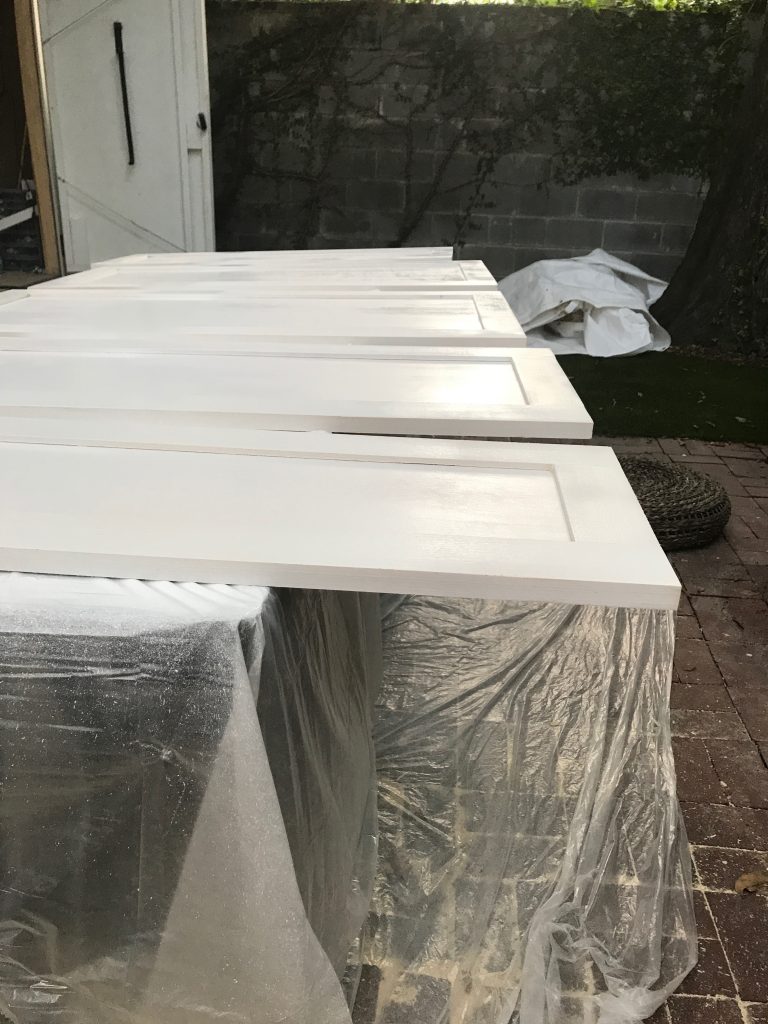
Invest in a spray gun people-HOLY CRAP! Drys in 10 mins tops and the finish is perfection. I got this one and it worked like a charm. We used a basic bright white matte paint for the upper cabinets.
I did end up brushing the sealant by hand since it was going through the matte can like whoa (and that stuff isn’t cheap). Definitely glad we put that on to protect the cabinets though! There’s very little sheen, but messes clean up so easily!
Used a thick, sandy primer for the cabinet frames and rolled the paint on the just the front of the fames and shoe kicks.
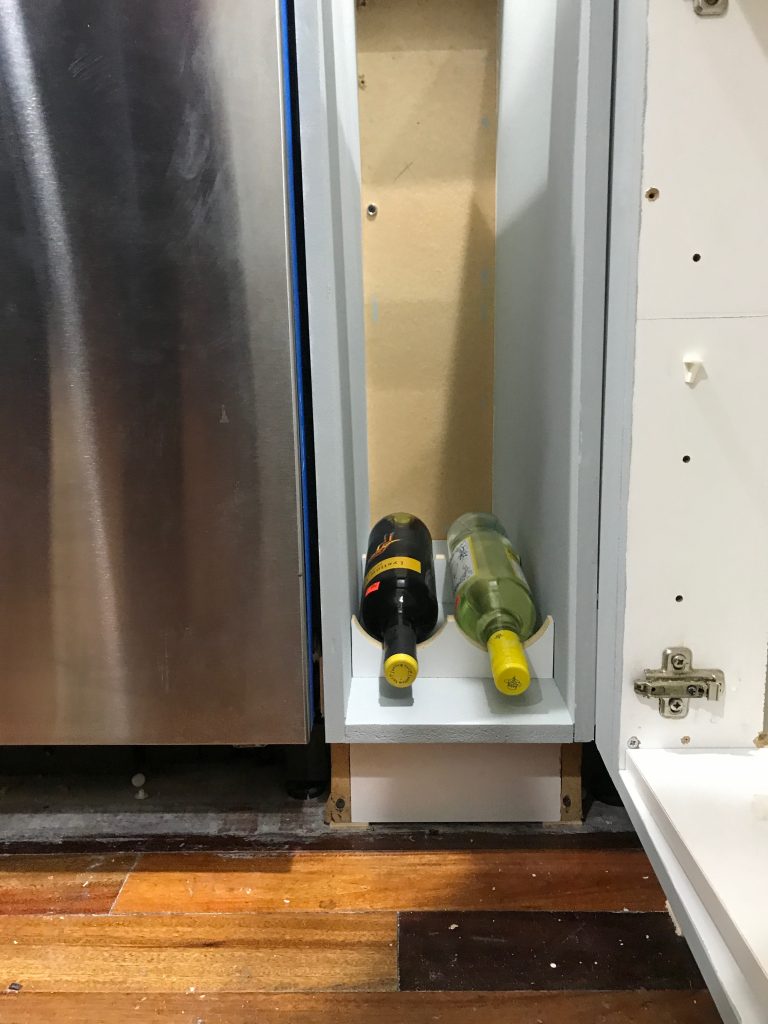
For the peninsula, we made a frame for the kegerator and then nailed a thin piece of plywood to the front and side. Then we cut the leftover plywood into thin panels so we could replicate the shaker cabinet door look and keep it cohesive.
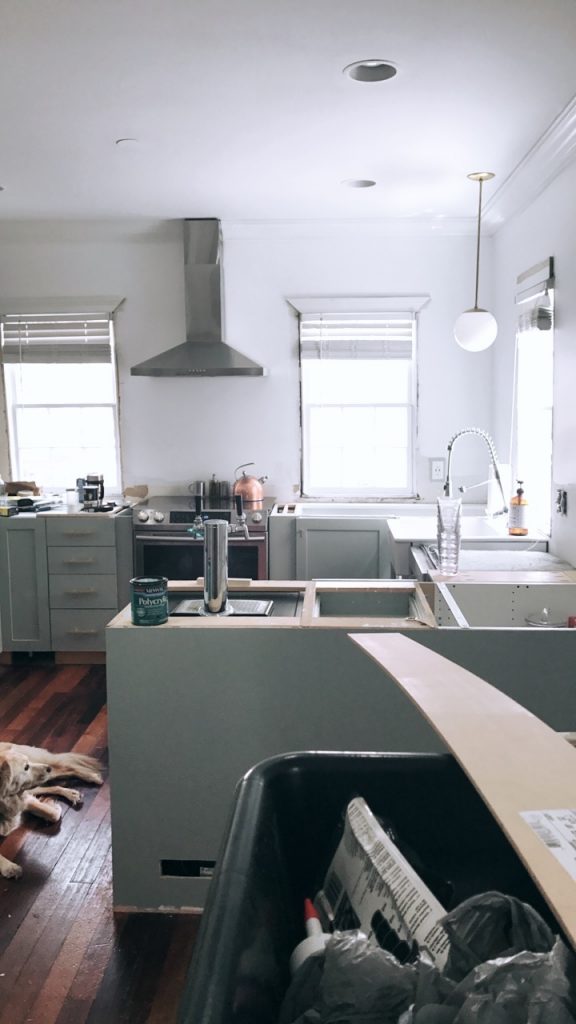
Countertop installation time!! Can’t say enough wonderful things about East Coast Granite and Design! They were right on time, very responsive, professional, budget friendly and gave us exactly what we wanted! They even drilled in holes on side for our kegerator since we weren’t sure how that was supposed to be installed at the time.
We waited until they installed the countertops to nail in the panels, but after that, same fun details: putty, caulk, prime and paint!
How sleek do these look?!!?
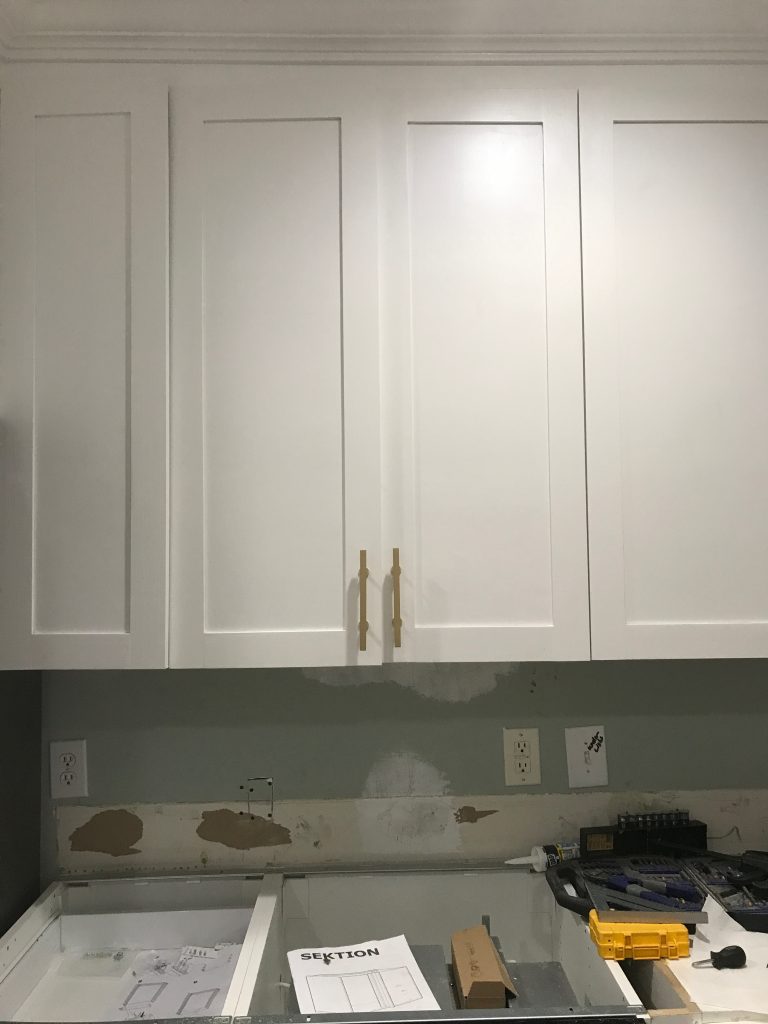
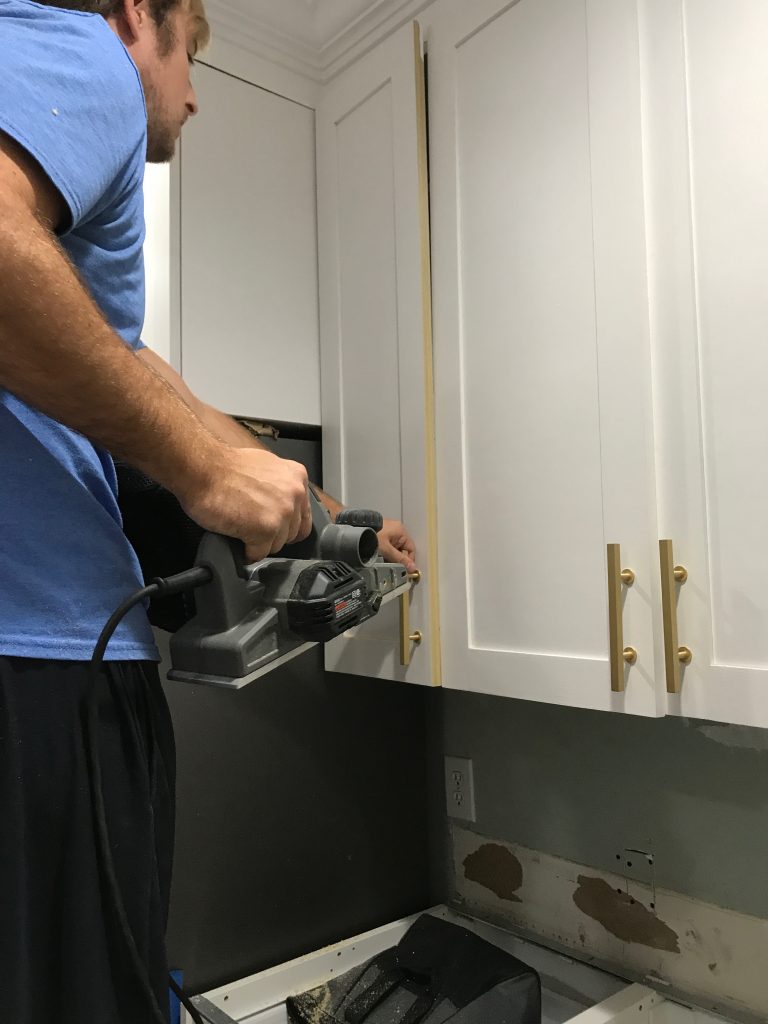
And not to worry if they’re a little tight 🙂 Use an electric, handheld planer like this one to skim the sides (while doors still installed).
Come on backsplash!!
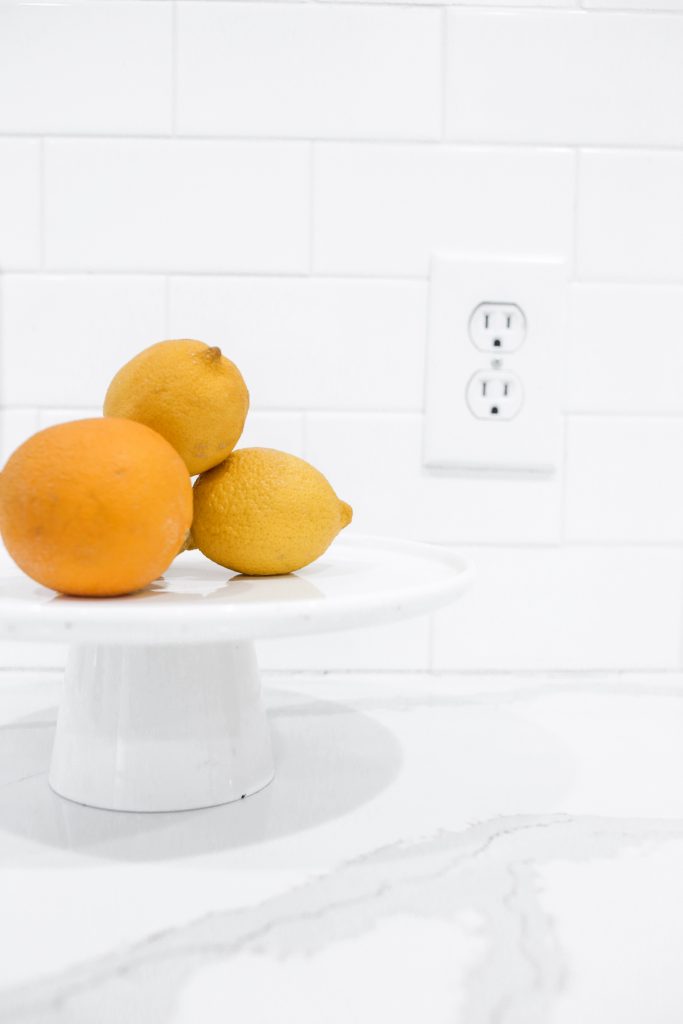
Of course we went with the standard 3×6 white glossy subway tile. You just can’t beat the price and it looks so clean. This time I was going to use thiner spacers and white grout since I didn’t like the distraction of our thick, dark gray grout lines in the last house.
Tiling is my favorite thing to do, on top of finishing touches so I can present the “before and after”, so I handled the rest from here on out..
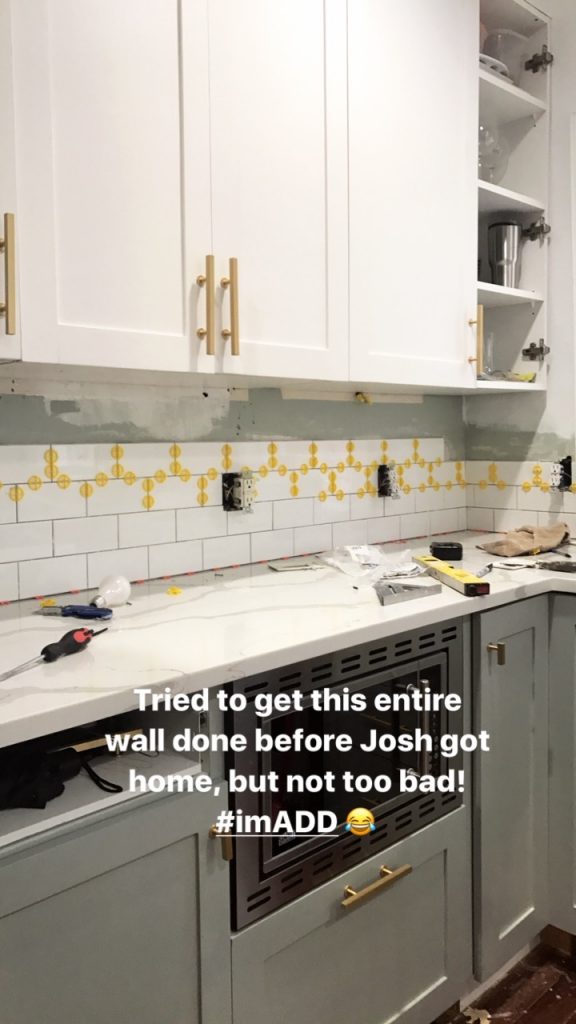
I just have to take a minute and pat myself on the back for installing this pain-in-the-ass microwave and ikea drawer underneath 🙂
Now, remember, this is what it looked like before…

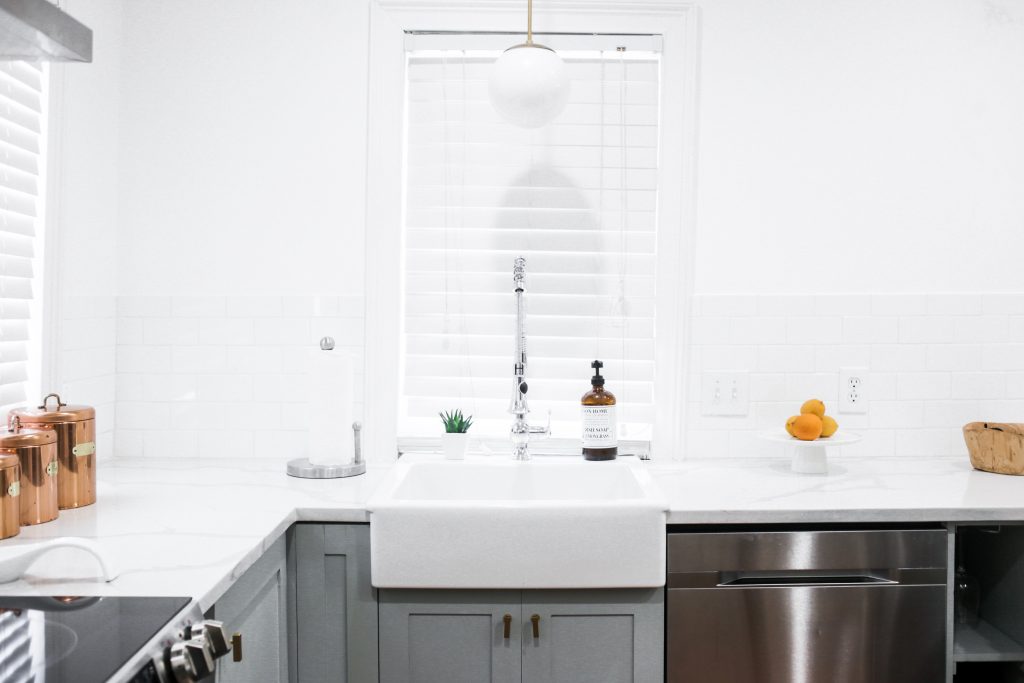
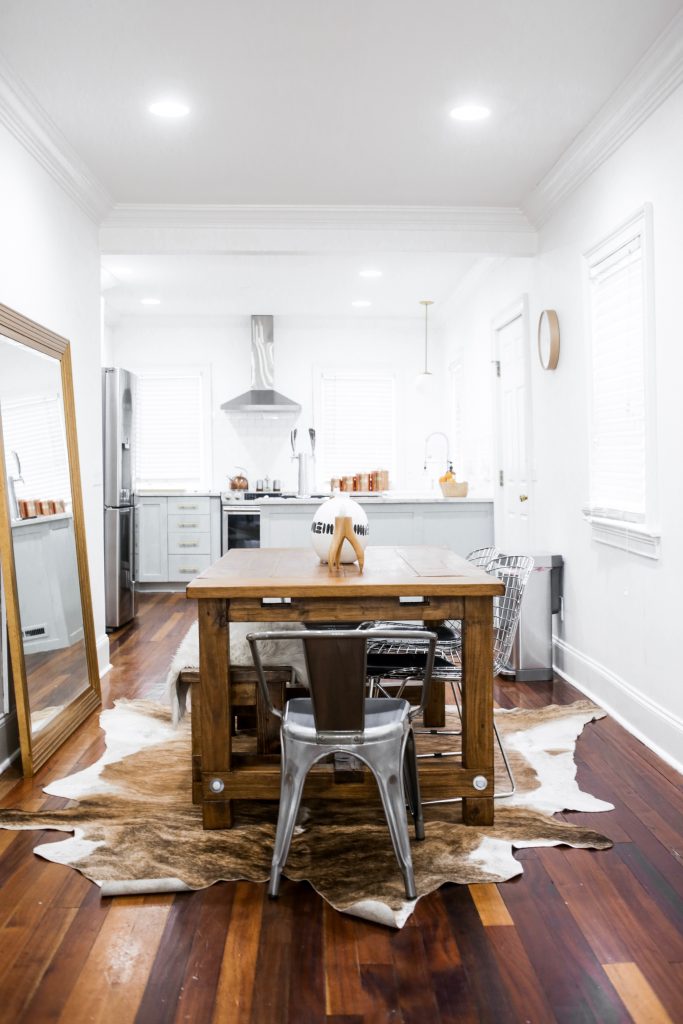
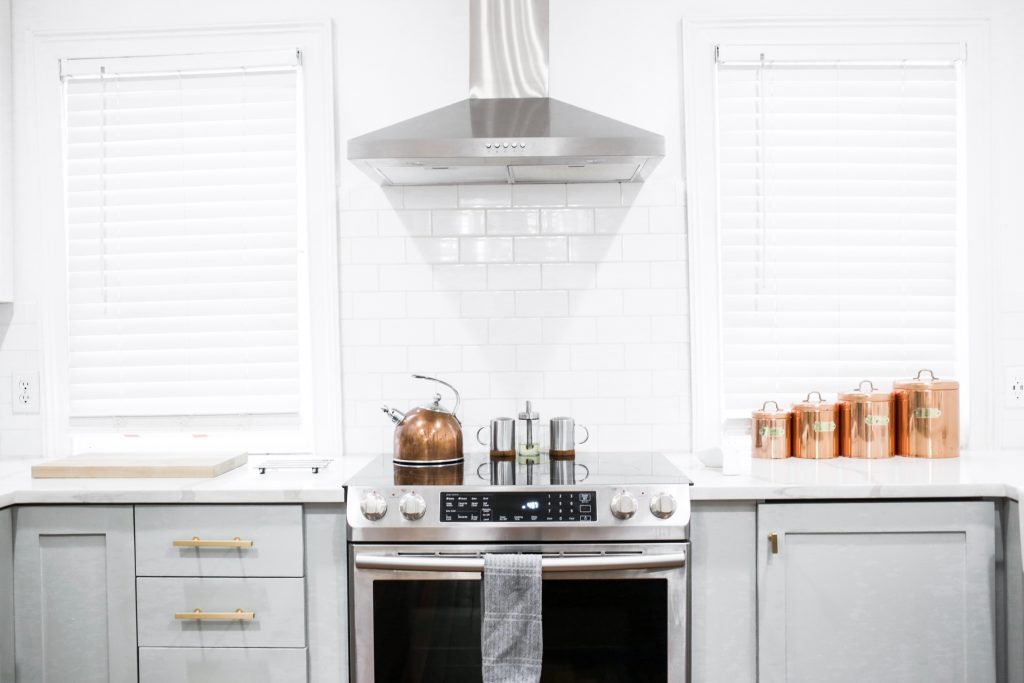
Hello beautiful, bright and new kitchen!

Before..

AFTER!
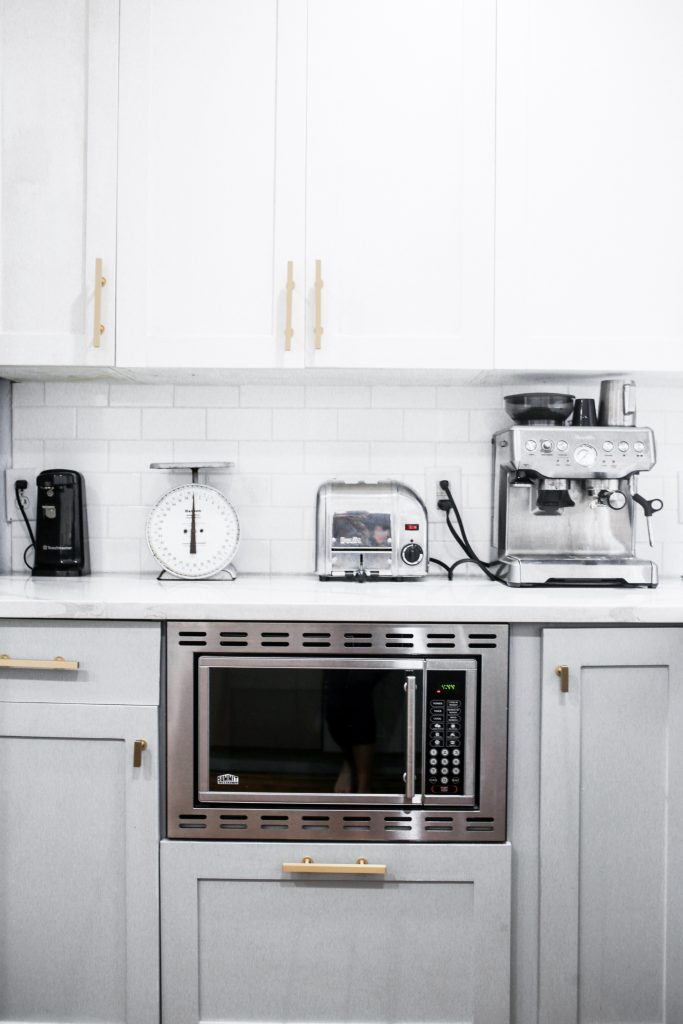
Downtown Kitchen Reveal!
Special thanks to The Mine who provided us with our gorgeous brass bar pulls!!
All other products featured are linked at the end of this post! 🙂
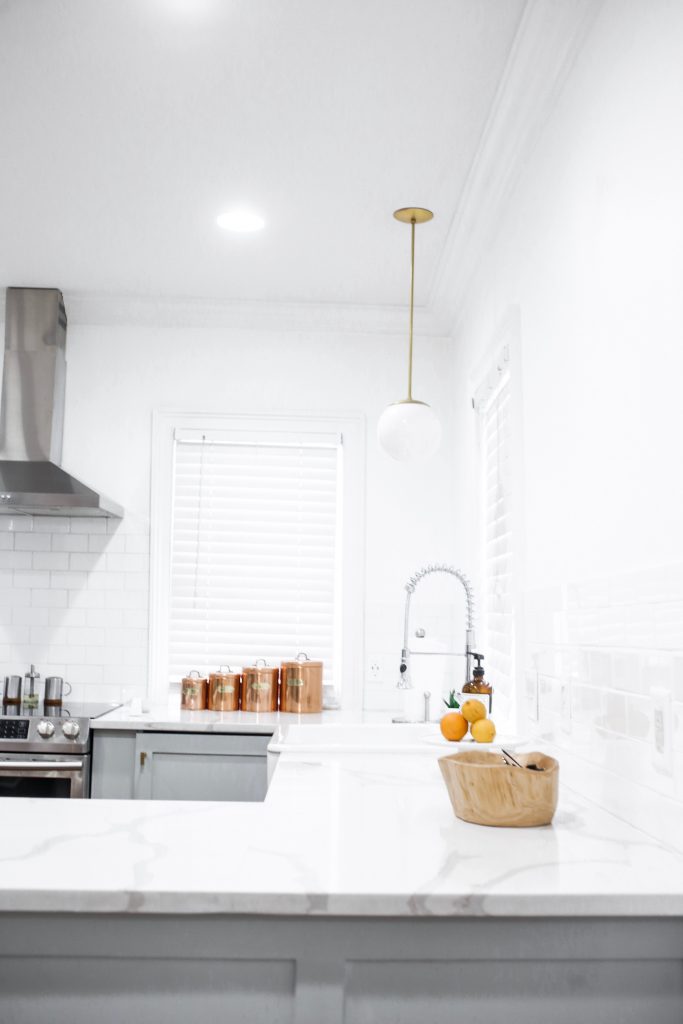
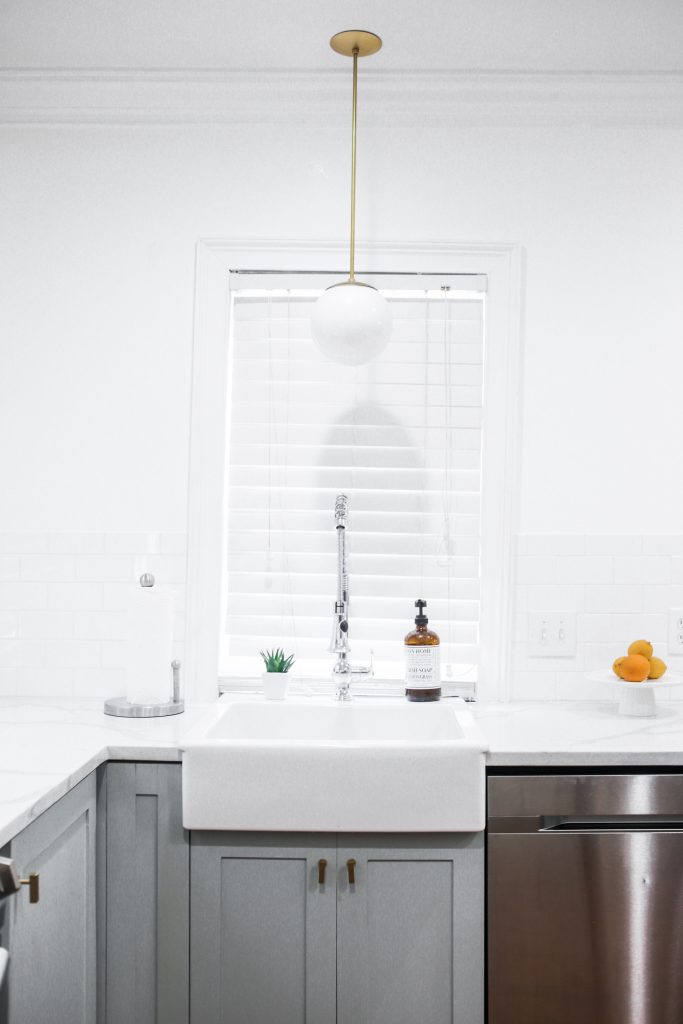
I actually made the brass globe pendant from scratch using parts from this company! If you guys would like to see a tutorial, just let me know! 🙂
